Shopify Checkout.com guide
This guide will walk you through setting up an extension store on Shopify using the Checkout.com Onsite Payments App and Reach Embedded solution, and includes links to detailed instructions. For complete instructions, see the Shopify onsite payments app guide.
Per Shopify's requirements, the new Shopify onsite payments app is incompatible with checkout.liquid customizations you may have. If you've customized your checkout.liquid template, you must upgrade to checkout extensibility.
Step 1. Install the Payments App
Your Reach representative will provide the Checkout.com Client ID and Client Secret. You will need these items in Step 2.
Go to the Checkout.com Onsite Payments App listing on the Shopify app store, then click Install. Shopify will redirect you to the Install app page on your Shopify store. To install the Checkout.com Onsite Payments App, click Install.
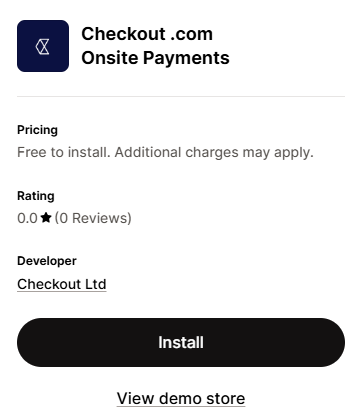
click Install
Step 2. Configure the Payments App
After you install the app, you must configure it before activating it.
- Enter the API credentials provided by your Reach representative.
- Enter your 3DS settings preferences.
You must disable 3DS for US stores.
- Enter the Billing Descriptor details. In the Billing Descriptor Name field, provide the name you want to appear on your customer's credit card statements when they purchase a product from your store. This name will help customers identify the charge and reduce chargebacks due to unrecognized transactions. The format for the statement descriptor is RCH-[your store descriptor], where your descriptor must be from 2 to 19 characters in length.
- Click Save.
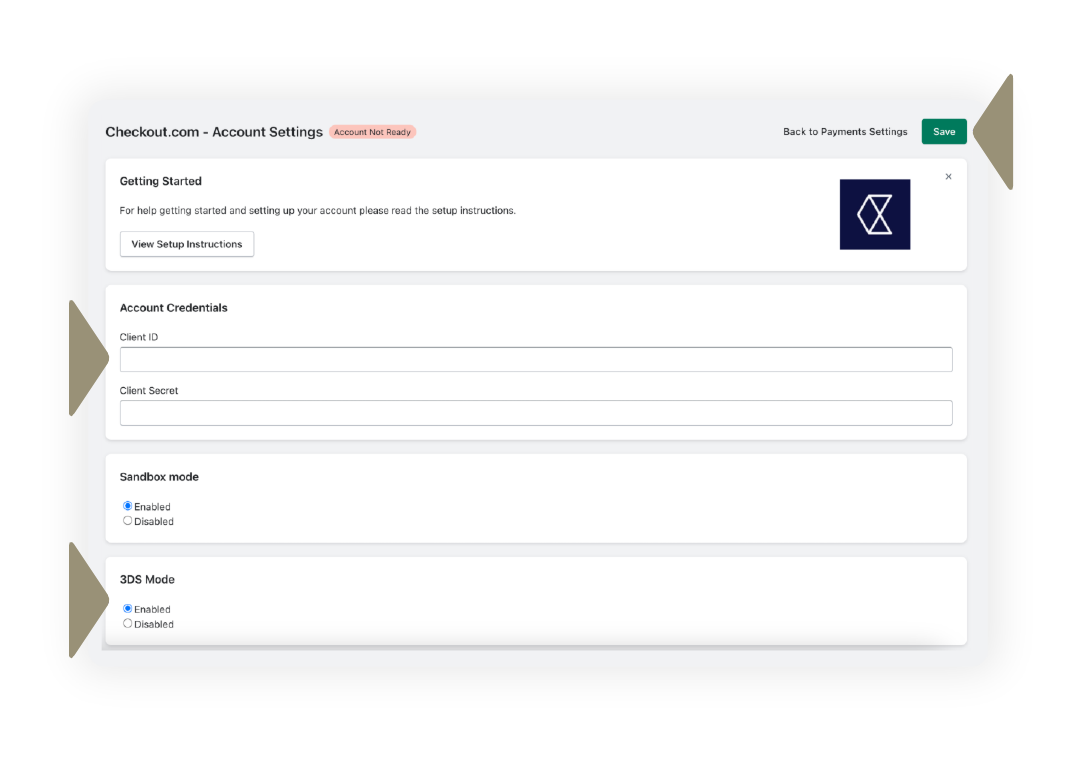
Checkout.com - Account Settings page
- Click Webhooks.
- Click Register Webhook and ensure the webhook was created successfully.
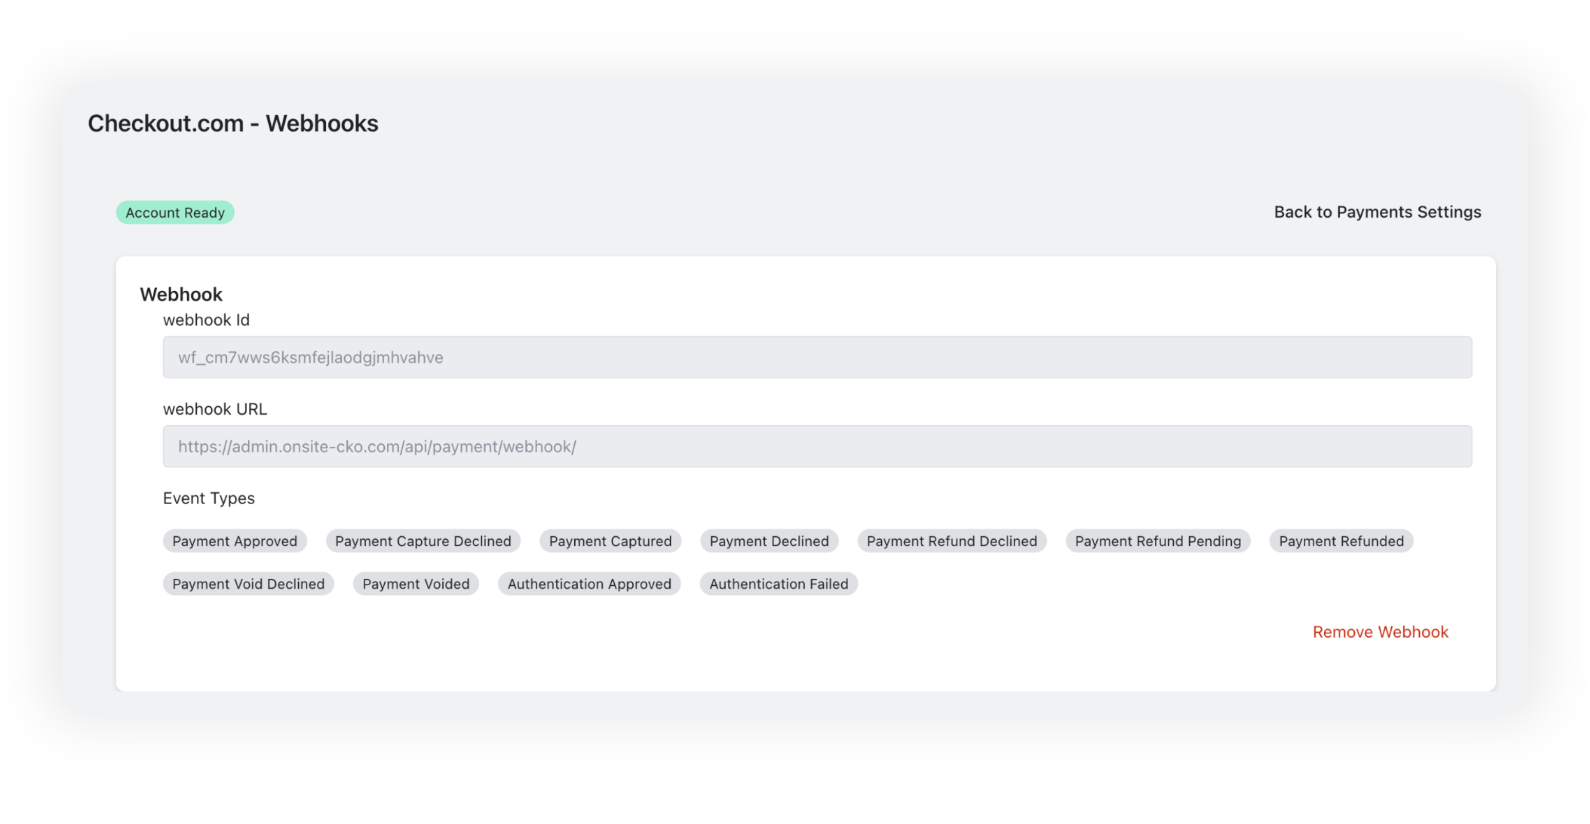
Checkout.com - Webhooks page
- In the Account Settings section, validate that the Account Not Ready tag has changed to Account Ready.
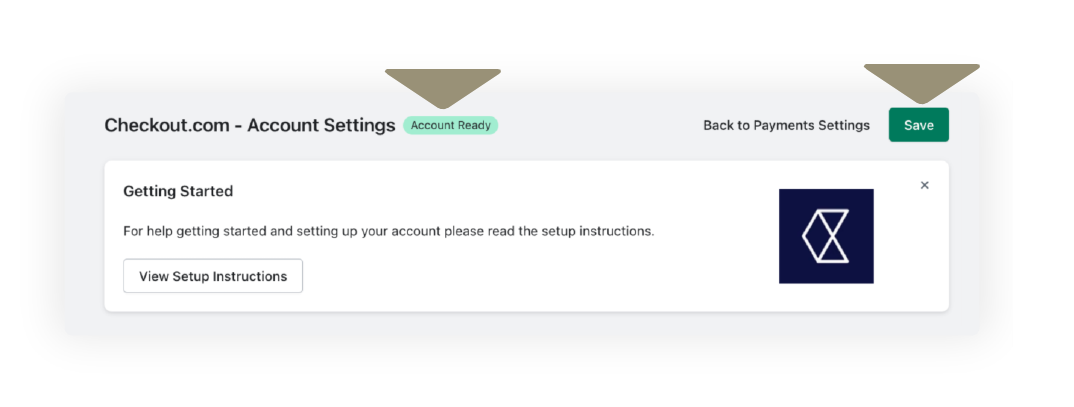
Account Ready
- Click the Back to Payments Settings button.
- You will be redirected to your Shopify store's alternative provider page. Click the Activate Checkout.com—Onsite Payments button.
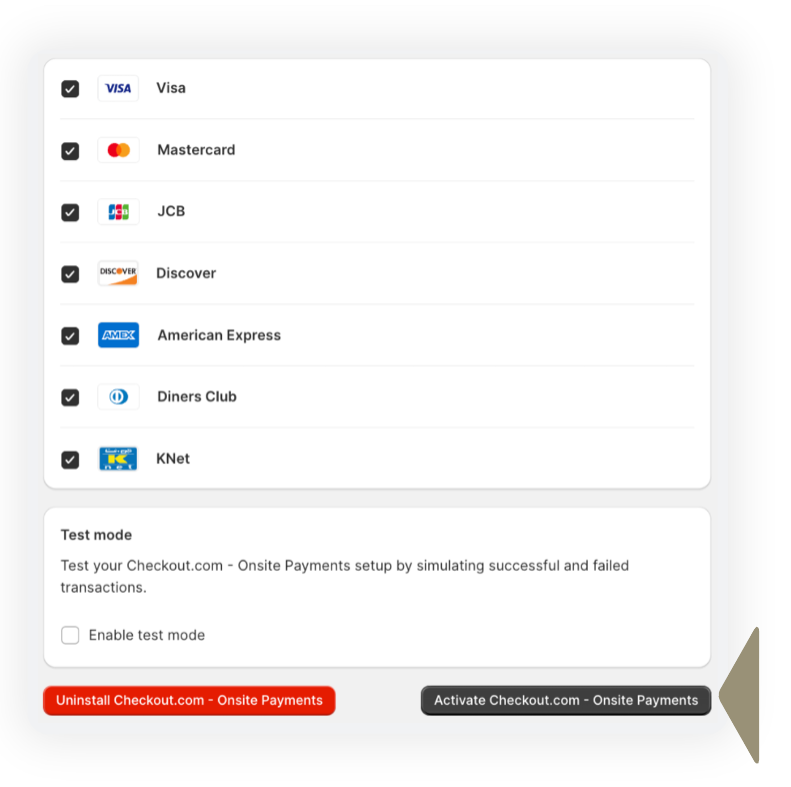
Click the Activate Checkout.com—Onsite Payments button
Step 3. Terms and conditions
By deploying this solution, Reach will act as your Merchant of Record (MoR). There are legal requirements from our processing partners that we strictly adhere to, such as the Terms & Conditions laid out by our partnership with the supplier.
Visit this link to read our terms and conditions and follow the steps outlined to easily place them on your website—these must be accessible from a link in the footer of your website.
For more information on adding the Reach footer and Terms of Service (ToS), see Shopify stores.
Updated 9 days ago