The Reach badge for Shopify stores
How to add the Reach badge to your store using a checkout editor
This page explains how to add the Reach badge to your Shopify store's checkout using a checkout editor.
To use Reach as a Merchant of Record (MoR), you are required by the card schemes to display the Reach badge. This ensures the customer is informed of the parties involved in the transaction.
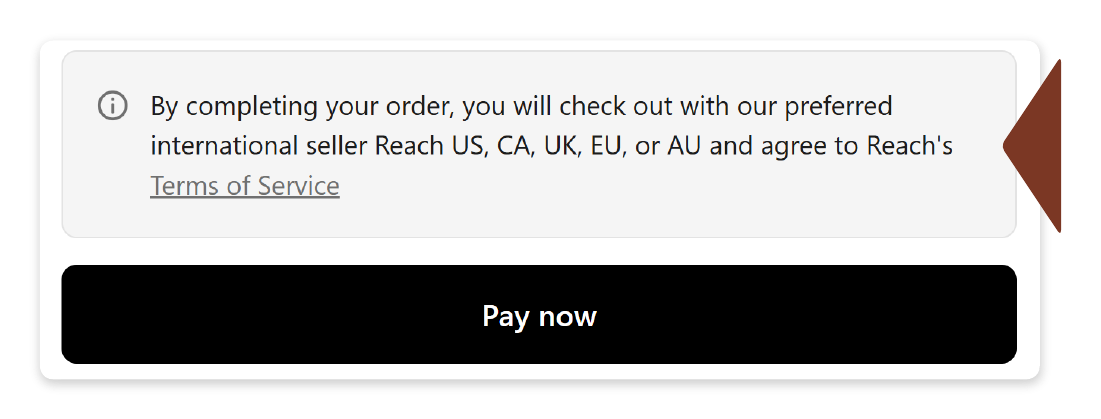
Example of the Reach badge
Using a checkout editor to add the Reach badge
As required by the card schemes, you must disclose Reach as the MoR for your store. This can be done by displaying Reach's badge on your store's checkout page using a checkout editor app.
Shopify supports a variety of apps that can be used to customize your checkout. The Checkout Blocks app is one of the more popular choices.
Reach recommends the Checkout Blocks app for suppliers using Shopify Plus.
If you are using your preferred checkout editor, refer to the instructions below.
- For physical products, copy the text in the Physical products tab below, and for digital products, copy the text in the Digital products tab.
This purchase is sold by WITH REACH Ltd OU (“Reach”). <a href="https://www.withreach.com/privacy-center"> Reach's Privacy Policy </a> and Consumer <a href="https://www.withreach.com/consumer-terms-of-service">Terms of Service</a> set the minimum requirements for all consumer purchases from Reach. Where local law or [Insert Supplier Name ] provide enhanced consumer protection they will control a shopper’s purchase from Reach.This purchase is made from WITH REACH Ltd OÜ (“Reach”), the Merchant of Record. By completing your order, you agree to <a href="https://www.withreach.com/privacy-center"> Reach's Privacy Policy </a> and Consumer <a href="https://www.withreach.com/digital-terms-of-service">Terms of Service</a>. Where required by local law, additional consumer protections may apply.- In your preferred app, paste the relevant text for your product type in the relevant content field.
- Adjust the two-letter country codes (US, CA, UK, EU, or AU) to match the Reach entities associated with your store.
Using the Checkout Blocks app
You can use the Checkout Blocks app to quickly display the Reach badge using dynamic blocks. This app offers two methods for including the badge: dynamic content or static content.
- Dynamic content: Customize your checkout pages in a multi-entity environment where your stores do not use Reach in all regions.
- Static content: Customize your checkout pages in a single entity environment.
Step 1. Install the Checkout Blocks app
The following instructions require installing the Checkout Blocks app in your store.
Complete the steps below to install the Checkout Blocks app:
- Sign in to your Shopify admin and click Settings in the lower-left of the navigation pane.
- Click Apps and sales channels in the left navigation pane.
- Click the Shopify App Store button.

Shopify App Store button
- Type
Shopify Checkout Blocksin the Search apps, guides, and more field and press Enter.

Search apps, guides, and more field
- Click Install.
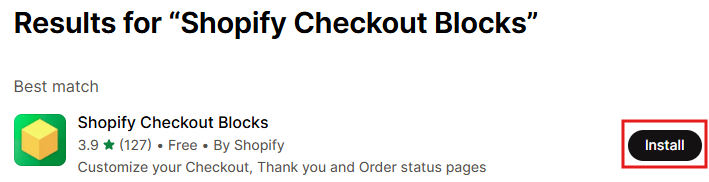
Click the Install button
- Click the Install button on the Install app modal.
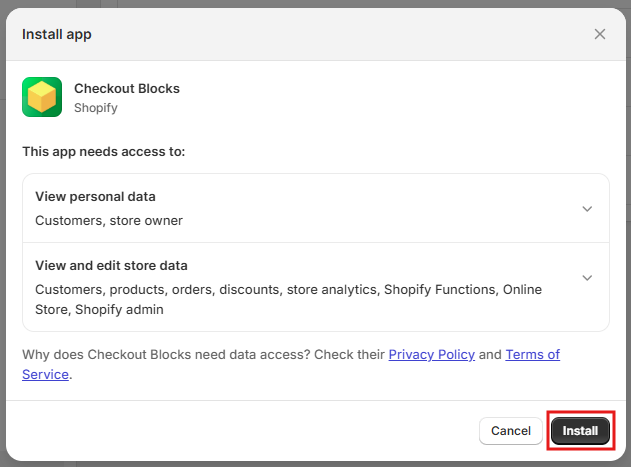
Click the Install button
You have successfully installed the Checkout Blocks app. Proceed to Step 2. Configure the checkout blocks.
Step 2. Configure the checkout blocks
Follow the instructions below to configure the checkout blocks:
- Click Blocks under Customize checkout ( or Apps > Checkout Blocks > Blocks).
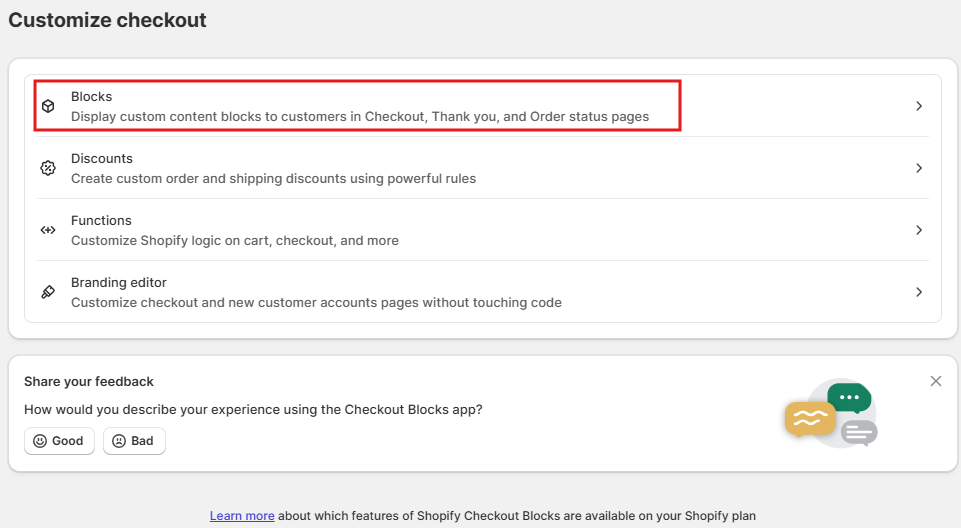
Click Blocks
- Click Create block.
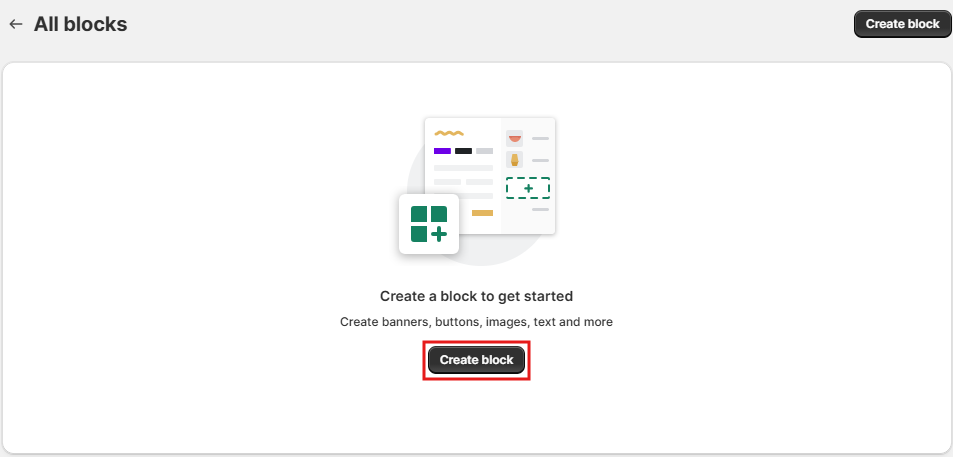
Click Create block
Step 3. Choose dynamic or static content
Choose one of the following options:
- To configure dynamic content, go to Option 1: Configure dynamic content. Use dynamic content if Reach is not Merchant of Record for all markets or regions on your store.
- To configure static content, go to Option 2: Configure static content. Use static content if Reach is the Merchant of Record for all markets or regions on your store.
Option 1: Configure dynamic content
- Under Custom content with display rules, click Dynamic content.
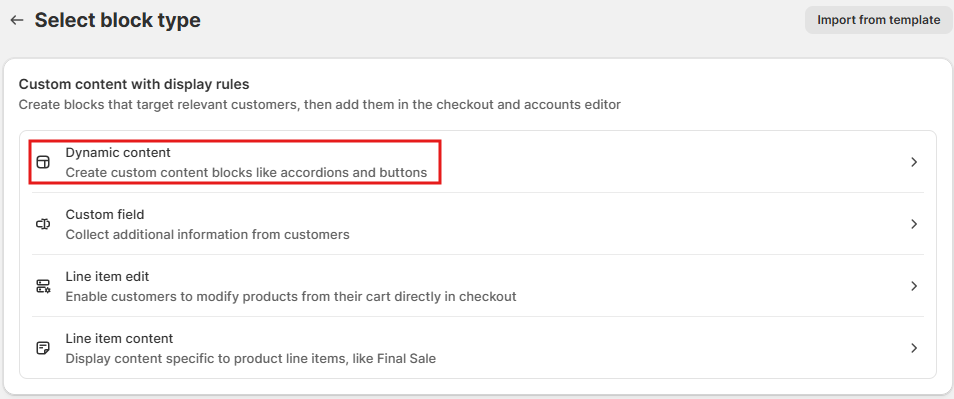
Click Dynamic content
- From the Select a template page, click Banner example.
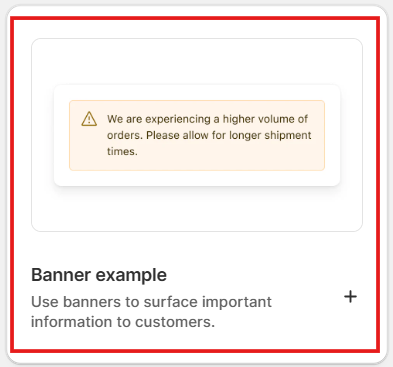
Click Banner example
- Type
Reach Badgein the Block Name field.
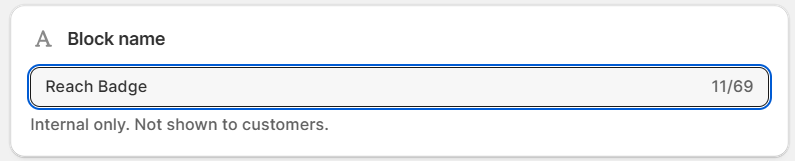
Provide a block name
- Under the Content items, click Edit next to Banner.

Click Edit
-
To update the Content field, follow these steps.
- Identify the content type: Determine whether you sell physical or digital products. This step will dictate which text you need to use.
- Copy the relevant text: For physical products, copy the text in the Physical products tab below, and for digital products, copy the text in the Digital products tab.
This purchase is sold by WITH REACH Ltd OU (“Reach”). <a href="https://www.withreach.com/privacy-center"> Reach's Privacy Policy </a> and Consumer <a href="https://www.withreach.com/consumer-terms-of-service">Terms of Service</a> set the minimum requirements for all consumer purchases from Reach. Where local law or [Insert Supplier Name ] provide enhanced consumer protection they will control a shopper’s purchase from Reach.This purchase is made from WITH REACH Ltd OÜ (“Reach”), the Merchant of Record. By completing your order, you agree to <a href="https://www.withreach.com/privacy-center"> Reach's Privacy Policy </a> and Consumer <a href="https://www.withreach.com/digital-terms-of-service">Terms of Service</a>. Where required by local law, additional consumer protections may apply.- Paste into the Content field: Paste the corresponding text for your product type in the Description field. The text will appear in the Static content field on the Checkout pane. Adjust the two-letter country codes (US, CA, UK, EU, or AU) to match the Reach entities associated with your store.
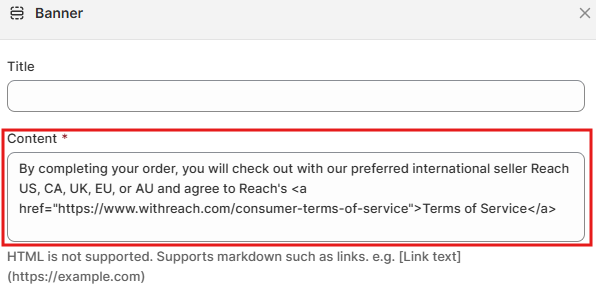
Paste the ToS text into the Content field.
-
Change the Banner status to Info banner and click Done.
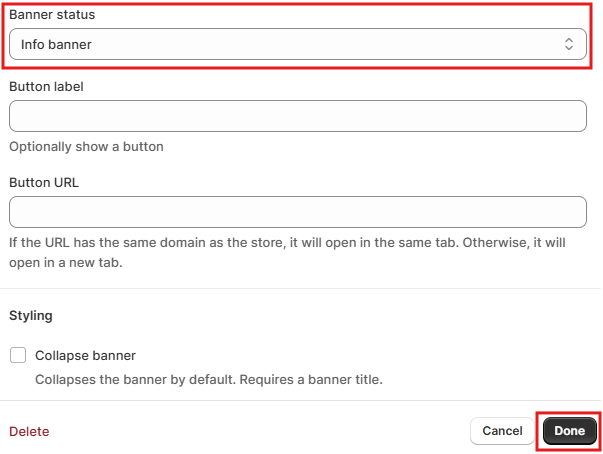
Change the Banner status to Info banner and click Done
- Under Publishing on the right, click the Edit icon next to Region markets.
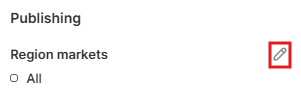
Click the Edit icon next to Region markets
- Select the regions you configured for Reach and click Done.
Only the selected markets will display Reach's Terms of Service.
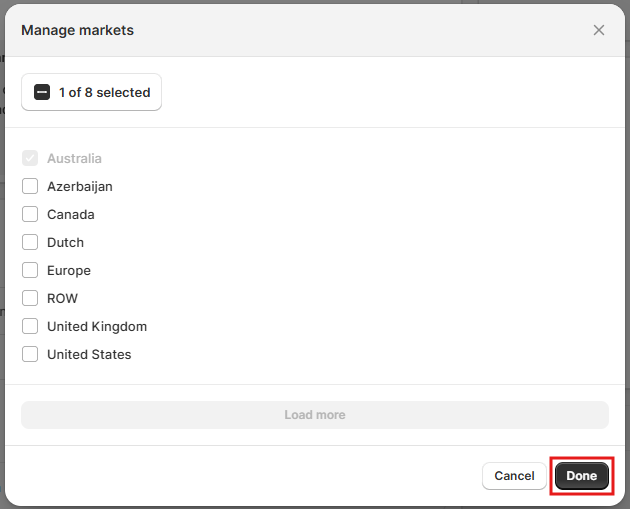
Select your regions and click Done
- Click the Edit icon next to Locations.
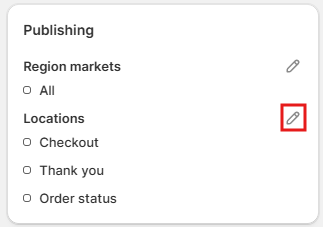
Click the Edit icon next to Locations
- Select the Checkout checkbox and click Done.
After you click Done, Locations still displays Checkout, Thank you, and Order status, but you will only see Checkout selected if you click the Edit icon again.
-
Click Save at the top of the page to save your changes.
-
Change the Status from Draft to Active. You will now see the regions you selected under Region Markets and Checkout selected under Locations.
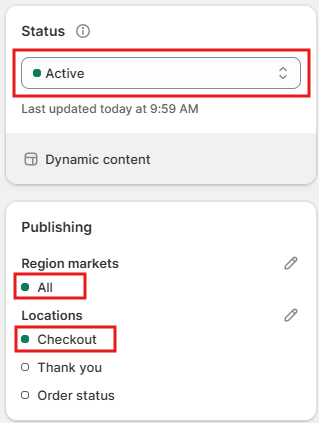
Change the Status to Active.
-
Click More actions in the upper-right corner and select Add to editor.
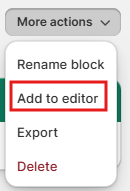
Click More actions and select Add to editor
- Note the Block ID and click Open editor. A new tab will open for the editor.
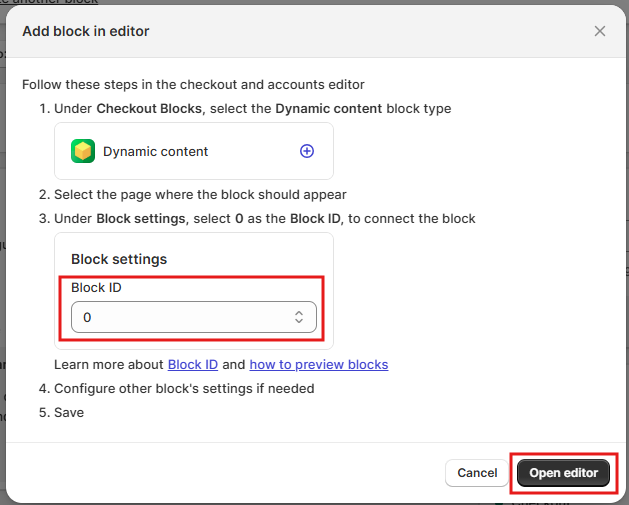
Note the Block ID and click Open editor
- Click the add ⊕ icon next to Dynamic content on the left navigation bar and select Checkout.
Select Checkout
- Select the block ID you noted in step 14 from the Block ID dropdown list. Your dynamic content should appear in the Dynamic content block.
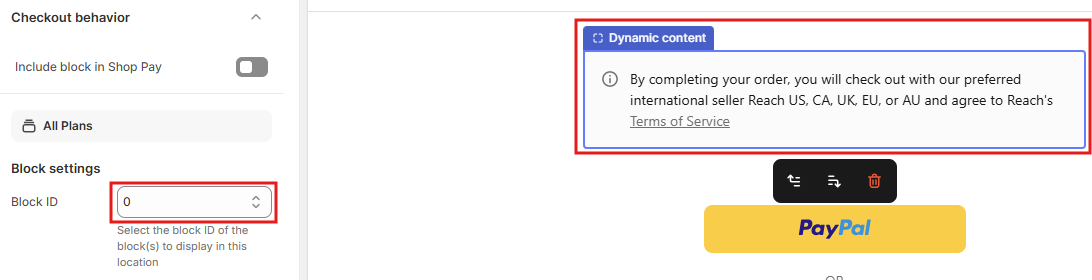
The Dynamic content block shows the text associated with the Block ID
- Choose one of the following options to move the Dynamic content pane to appear above the Pay Now button on the checkout page:
i. Use the Down button to move the Dynamic content pane to appear above the Pay Now button on the checkout page.
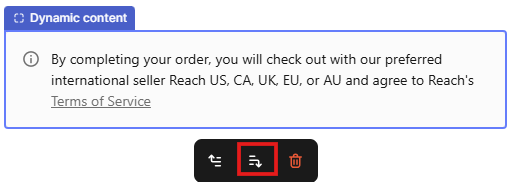
ii. Click the Sections icon in the left navigation pane, drag the Dynamic content object under Main, and drop it above Pay Now.
Move Dynamic content above Pay Now
- Click Save in the upper-right corner.
By following these steps, you'll ensure that the checkout page displays the correct information to your customers.
The Reach badge displaying Reach's ToS on the checkout page
Option 2: Configure static content
- Under Simple content for all customers, click Open editor next to Static content.
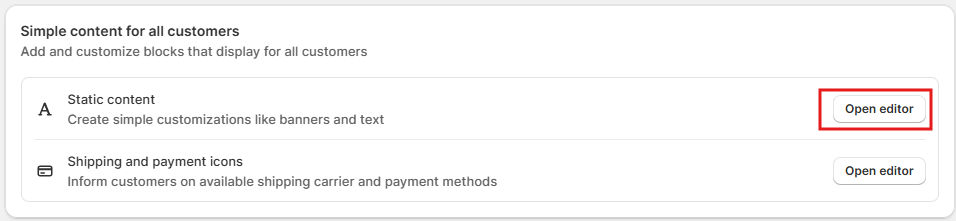
Click Open editor next to Static content
- In the Add block in editor popup, click Open editor.
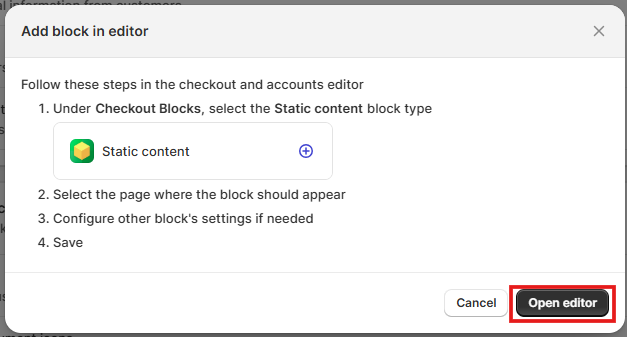
Open editor
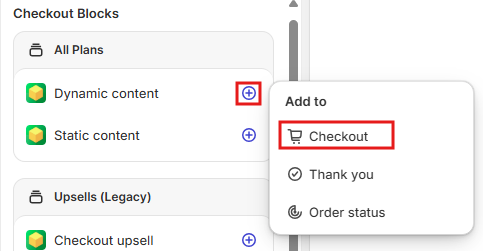
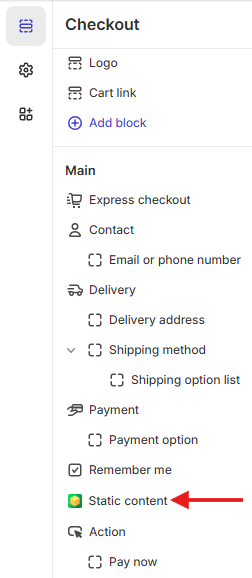
- Under All plans in the left navigation pane, click the add ⊕ icon next to Static content, and select Checkout from the Add to list.
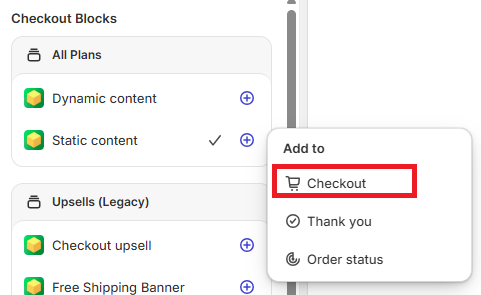
Click Checkout
- Follow these steps to update the Static content pane.
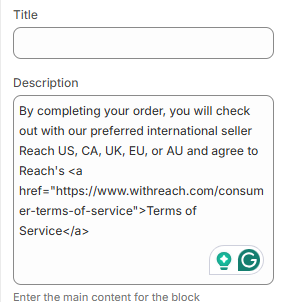
Description field
i. Identify the content type: Determine whether you sell physical or digital products. This step will dictate which text you need to use.
ii. Copy the relevant text: For physical products, copy the text in the Physical products tab below, and for digital products, copy the text in the Digital products tab.
By completing your order, you will check out with our preferred international seller Reach US, CA, UK, EU, or AU and agree to Reach's <a href="https://www.withreach.com/consumer-terms-of-service">Terms of Service</a>By completing your order, you will check out with our preferred international seller Reach US, CA, UK, EU, or AU and agree to Reach's <a href="https://www.withreach.com/digital-terms-of-service">Terms of Service</a>iii. Paste into the Description field in the left navigation pane: Paste the corresponding text for your product type in the Description field. The text will appear in the Static content field on the Checkout pane. Adjust the two-letter country codes (US, CA, UK, EU, or AU) to match the Reach entities associated with your store.
Description field
- Select Info banner from the Content type dropdown list.
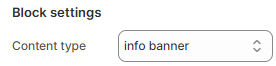
Select Info banner from the Content type dropdown list
- Choose one of the following options to move the Static content pane to appear above the Pay Now button on the checkout page:
i. Click the Static content pane and move it down the page with the Down.
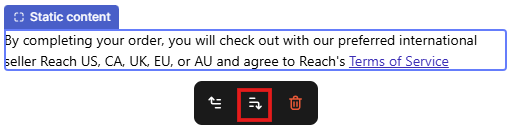
Down button
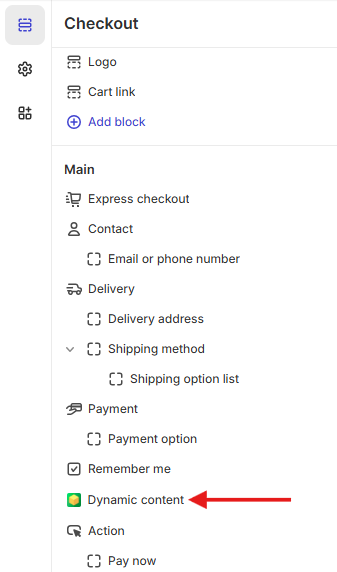
ii. In the left navigation pane, click the Sections icon, drag the Static content object under Main, and drop it above Pay Now.
Move Static content above Pay Now
- Click Save.
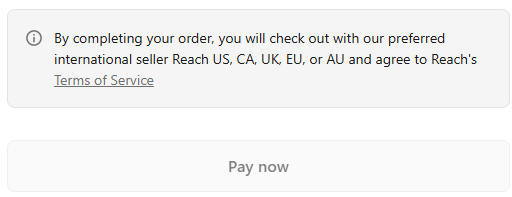
By following these steps, you'll ensure that the checkout page displays the correct information to your customers.
The Reach badge displaying Reach's ToS on the checkout page
Updated 4 months ago