Set up third-party payment methods for Shopify
With Reach and Shopify, you can offer a variety of payment methods to your customers worldwide using Reach's local acquiring solution. Contact the Reach support team if you are interested in setting up alternative payment methods in your Shopify store.
Follow the instructions below to set up third-party payment methods in your Shopify account.
Setting up PayPal
Reach supports PayPal in Australia, Canada, the United States, Europe, and the United Kingdom.
To utilize Reach's local acquiring solution through PayPal on your Shopify storefront, please contact your Reach Representative for guidance.
Follow the steps below to set up PayPal in your Shopify store:
- From your Shopify admin, go to Settings > Payments.
- Under Supported payment methods, click Activate PayPal. A new browser tab will open where you can enter the PayPal credentials.
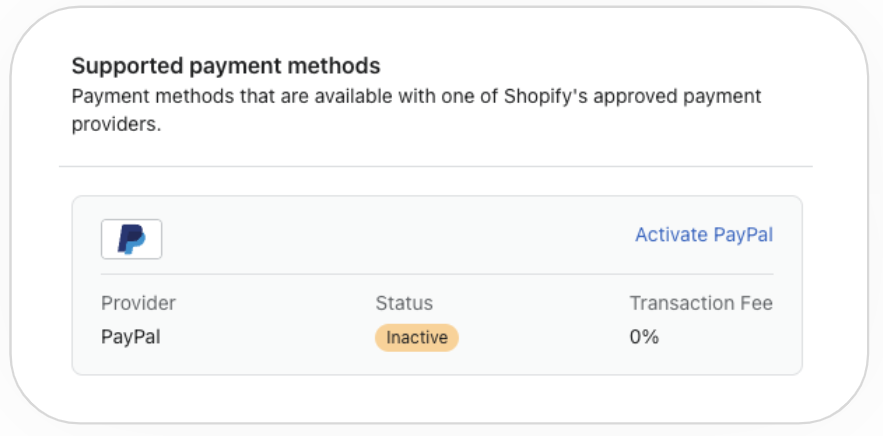
Click Activate PayPal
- Select the I'm not a robot checkbox, complete the security challenge, and click VERIFY.
- Enter PayPal credentials to sign in and click Next. Reach will provide this information.
- Enter the PayPal password and click Log In. Reach will provide this information.
- Once signed in, enter the one-time authentication code provided by your Reach Representative. The authentication code refreshes every 30 seconds.
- Log out of PayPal.
Your setup is complete!
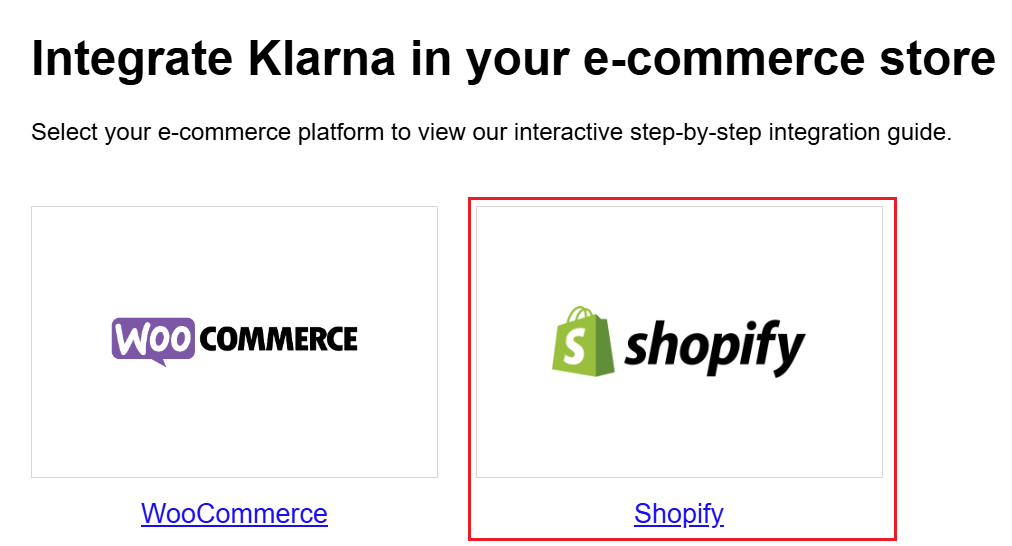
Setting up Klarna
The following steps only apply to suppliers with a United States, Canadian, or Australian entity. Suppliers with a European Union entity or a United Kingdom entity can enable Klarna through Shopify Payments. For more information on Klarna and Shopify Payments, please see Shopify's Klarna for Shopify Payments.
Klarna can only be enabled for your primary entity (your main Shopify account). Your primary entity should match the region in which you intend to use Klarna. For more information, review Considerations when selling from multiple entities with Shopify Payments.
Contact your Reach Representative to use Reach's local acquiring solution through Klarna on your Shopify storefront. They will send you an email to activate your Klarna account.
Follow the steps below to set up Klarna.
- Activate your Klarna account
- Install the Klarna app on the Shopify store
- Connect your Shopify store with Klarna
- Install and configure Klarna On-Site Messaging app
Step 1. Activate your Klarna account
- When you receive the email from Reach, click Activate Account.
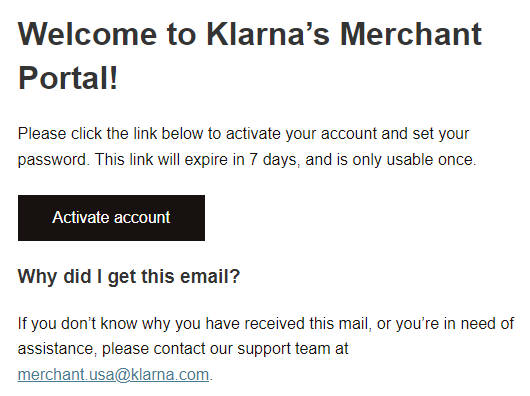
Activate account
- Select the checkbox to agree to the terms and conditions and click Continue.
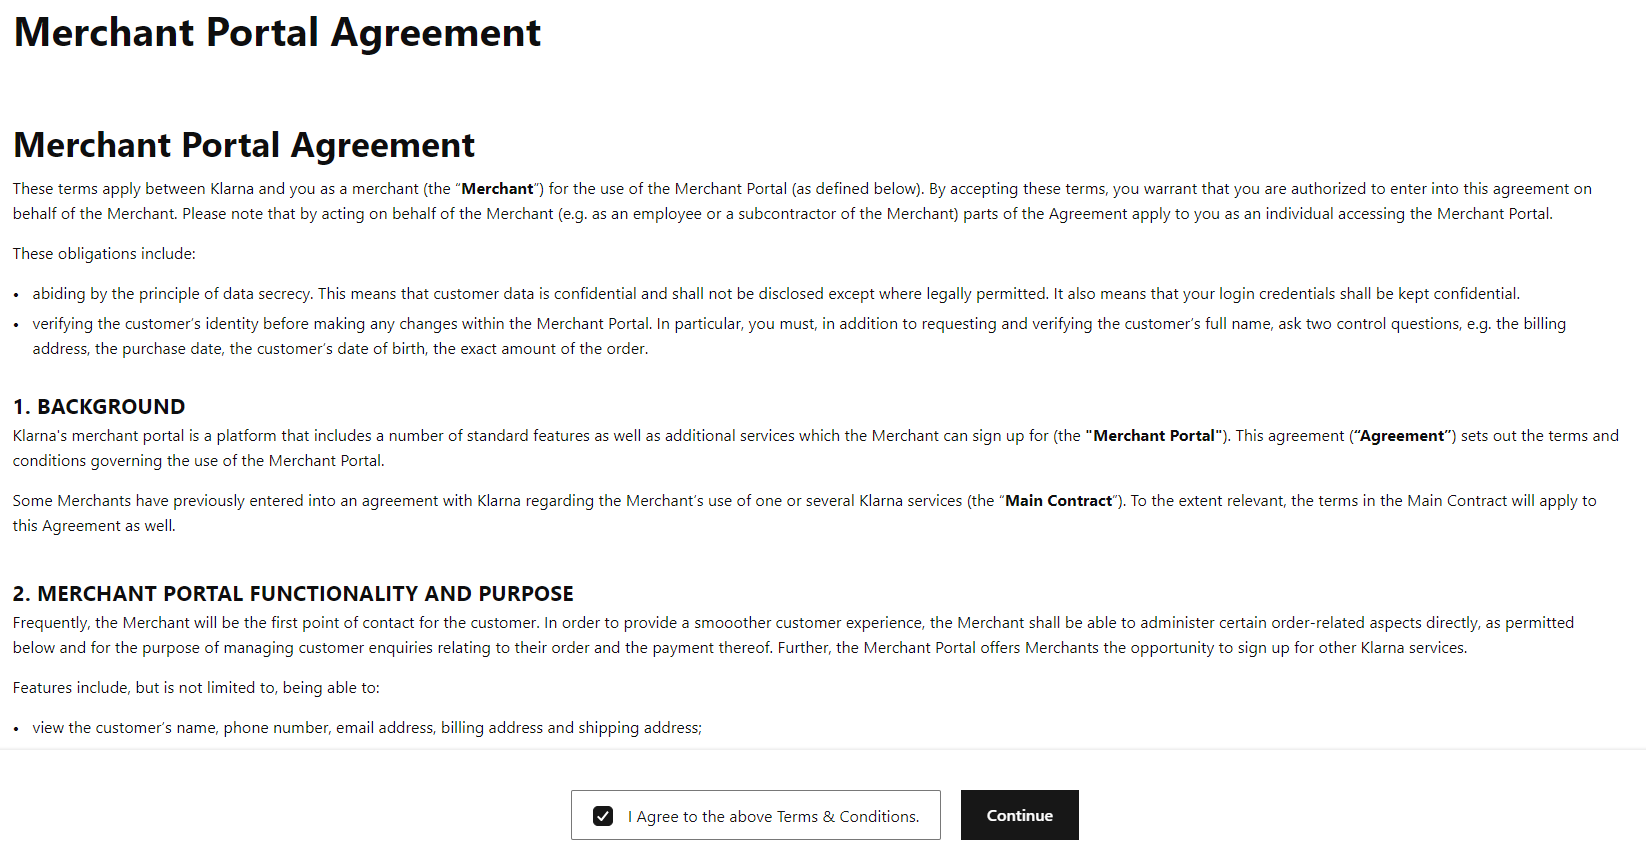
Merchant Portal Agreement
- Set your password and click Update password.

Please choose a new password
- Enter your first and last name and click Update profile.
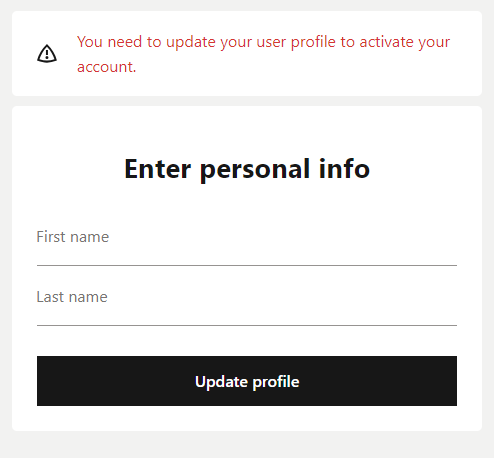
Enter personal info
- Set up two-factor authentication (2FA).
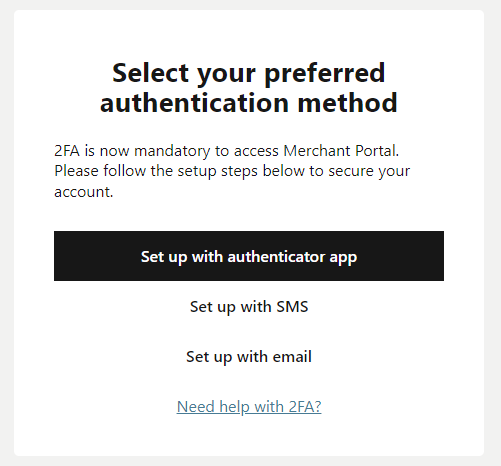
Select your preferred authentication method
- Once complete, log in to Klarna using your credentials and 2FA.
- Under To-dos, click 1 store invite awaiting action.
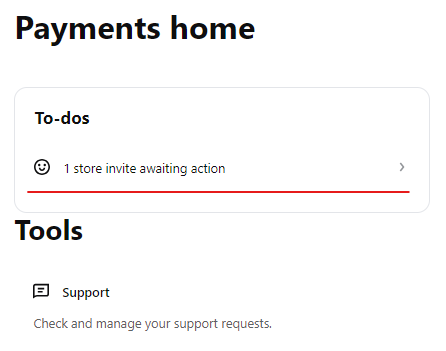
1 store invite awaiting action
- Select Accept next to your store and click Save.
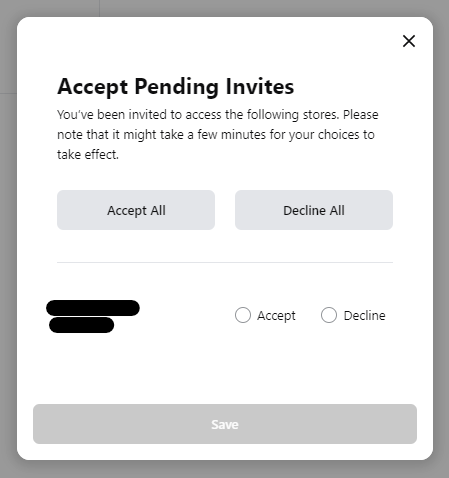
Accept Pending Invites
- Your access is complete; you can install the Klarna Payment app on your store.
Step 2. Install the Klarna app on the Shopify store
- Sign in to Shopify admin. If you have multiple stores, verify you are in the correct Shopify store.
- Click Settings in the lower-left navigation pane.
- Click Apps and sales channels.
- Click the Shopify App Store.
- Type
Klarnain the Search apps, guides, and more field at the top of the page.

Search apps, guides, and more field
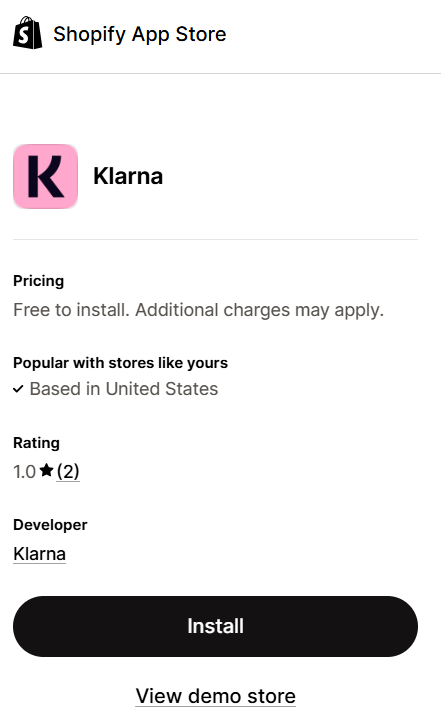
- Click Klarna in the search results list.
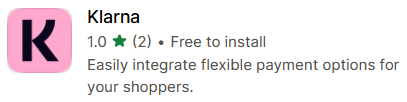
Klarna
- Click the Install button.
Install button
- Click the Install button again.
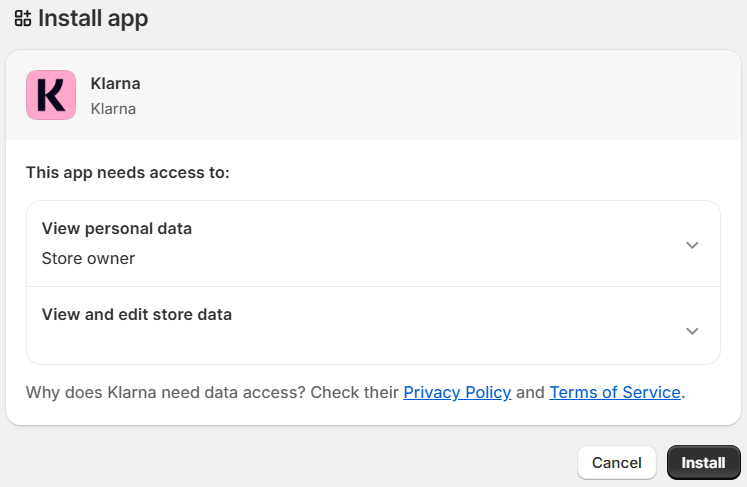
Install button
- Manage cookies on the Klarna site.
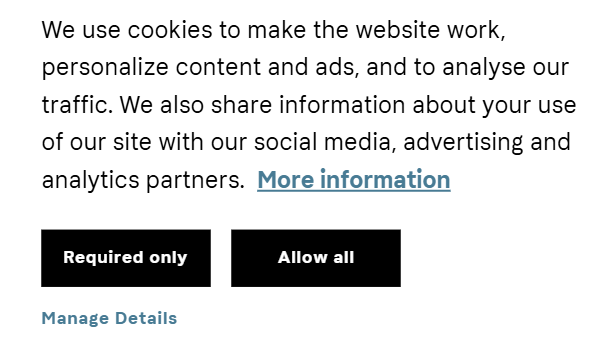
Manage cookies
- Enter your user credentials created in Step 1 and click Sign in to log in to Klarna.
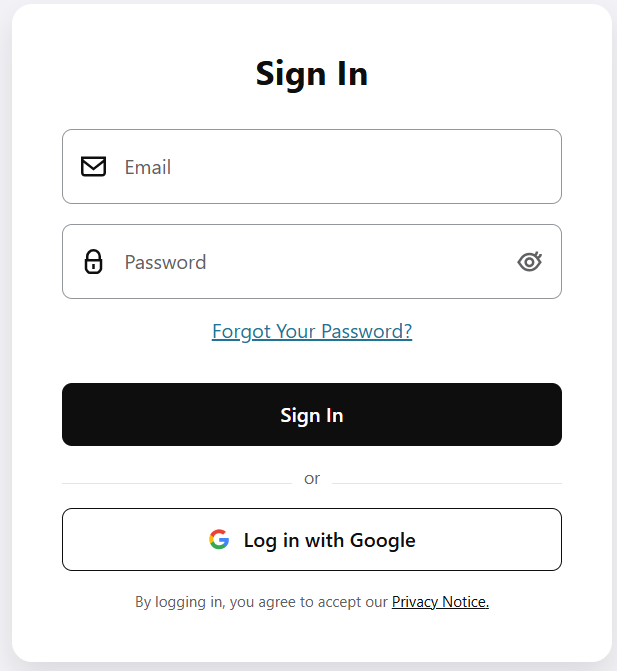
Klarna Sign In
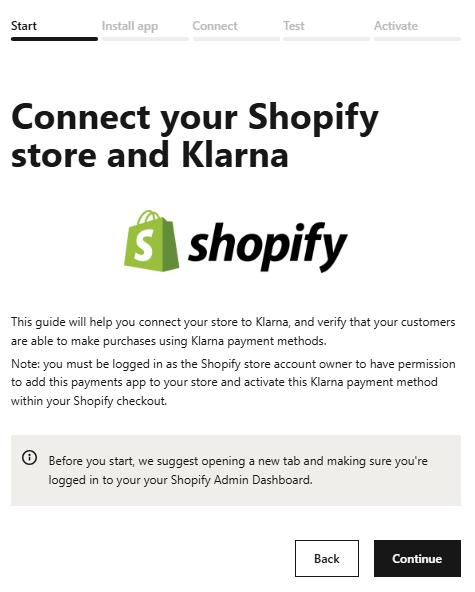
Step 3. Connect your Shopify store with Klarna
- From your Klarna account, make sure your Klarna MID appears in the Store field. Select it from the Store dropdown list if you don't see it.
Store dropdown list
- Click Shopify.
Click Shopify
- Click Continue to connect your Shopify store to Klarna.
Click the Continue button
- Click Install Klarna Shopify Application.
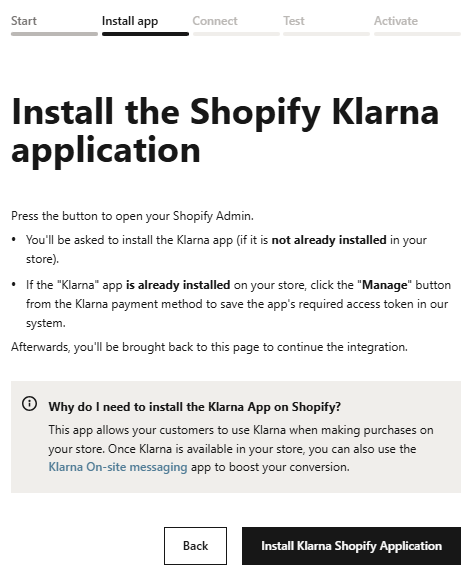
Click the Install Klarna Shopify Application button
- Click Generate and connect credentials.
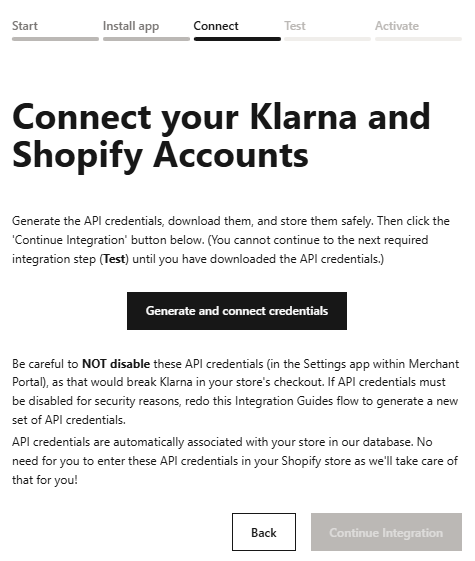
Click the Generate and connect credentials button
- Click Download Klarna_credentials and save the file to a secure location.
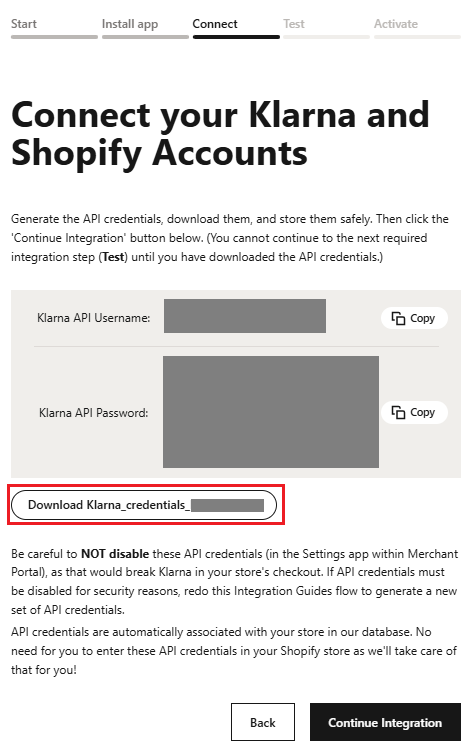
Click Download Klarna_credentials
- Click Continue Integration.
- Click Verify integration to test your integration.
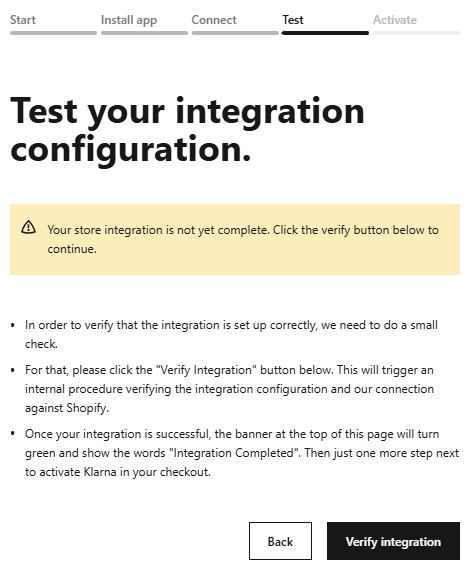
Vlick Verify integration
- Click Next. This action returns you to your Shopify store.
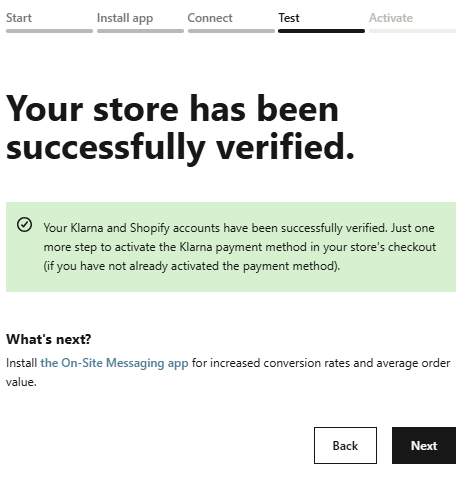
Click Next
- Click Next to activate your Klarna alternative payment method.
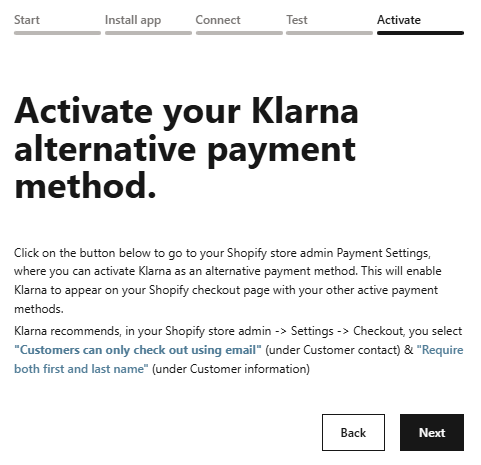
Click Next to activate your Klarna alternative payment method
- Turn on the Klarna toggle and click Activate. Once activated, Klarna will replace Installed with Active.
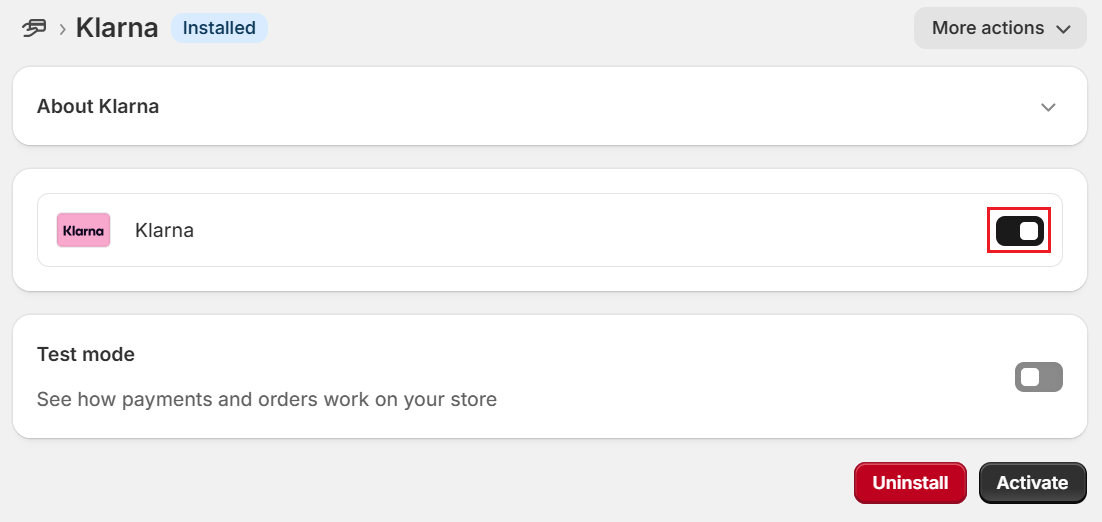
Activate Klarna
You have successfully activated Klarna!
Step 4. Install and configure the Klarna On-Site Messaging app

- Sign in to Shopify admin. If you have multiple stores, verify you are in the correct Shopify store.
- Click Settings in the lower-left navigation pane.
- Click Apps and sales channels.
- Click the Shopify App Store.
- Type
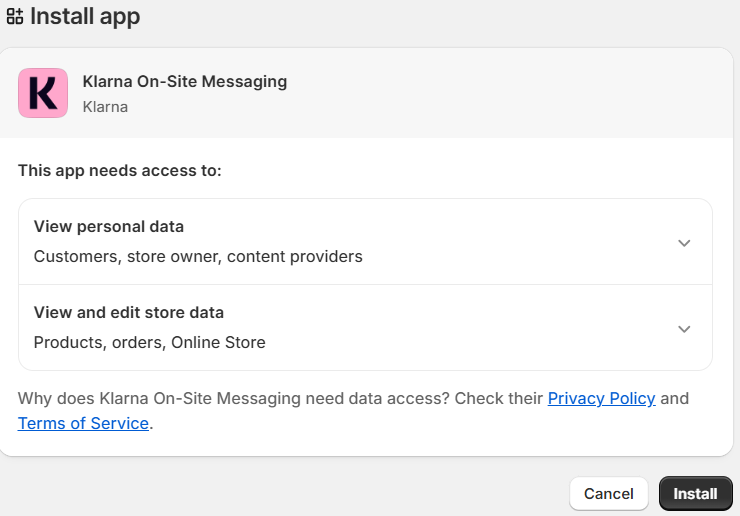
Klarnain the Search apps, guides, and more field at the top of the page. - Click Klarna On-Site Messaging in the search results list.

Klarna On-Site Messaging
- Click the Install button.
Click the Install button
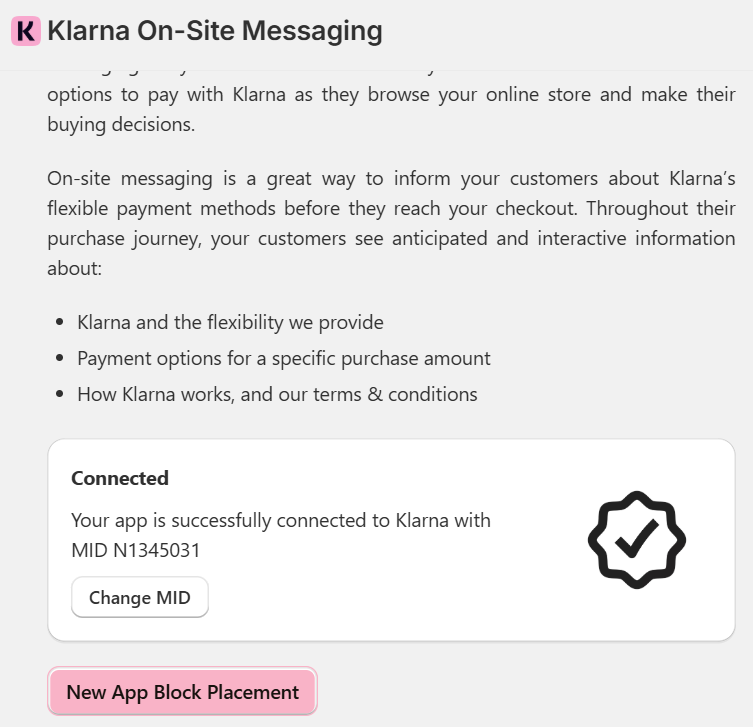
- Click Save to automatically deactivate Klarna On-Site Messaging Adds when switching themes.
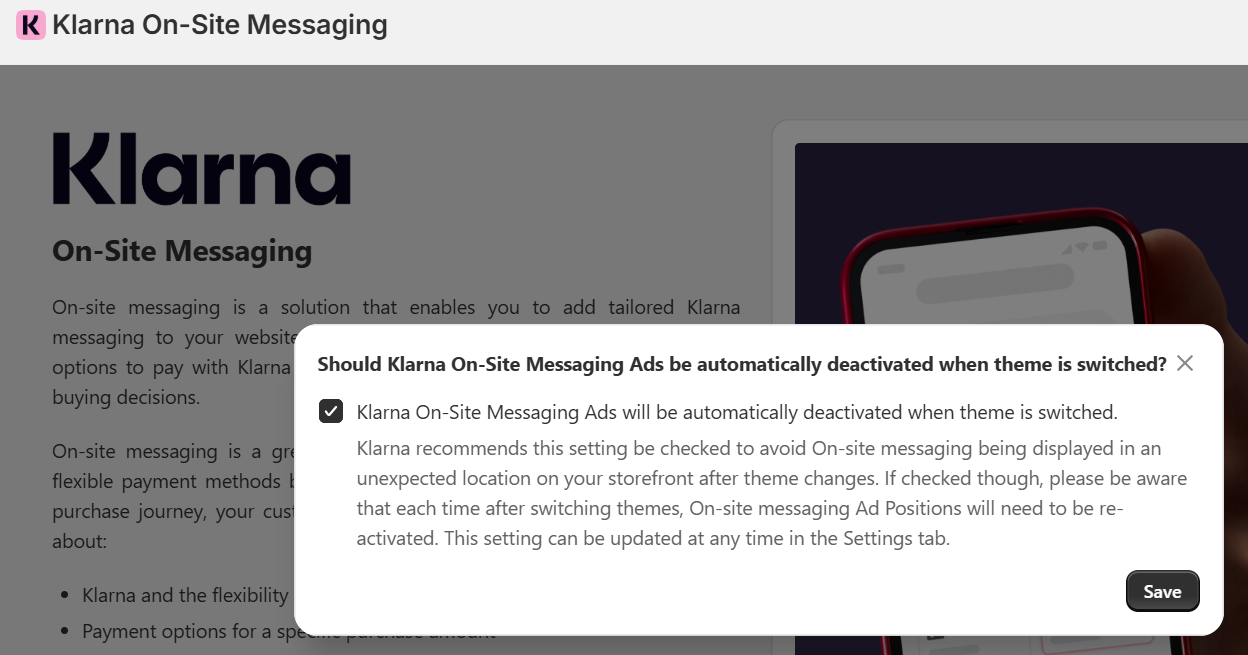
Click Save to automatically deactivate Klarna On-Site Messaging Ads when switching themes
- Scroll down and click the New App Block Placement button to open the them editor.
Click The New App Placement Button
- Click Got it to dismiss the instructions for moving the Klarna Placement block.
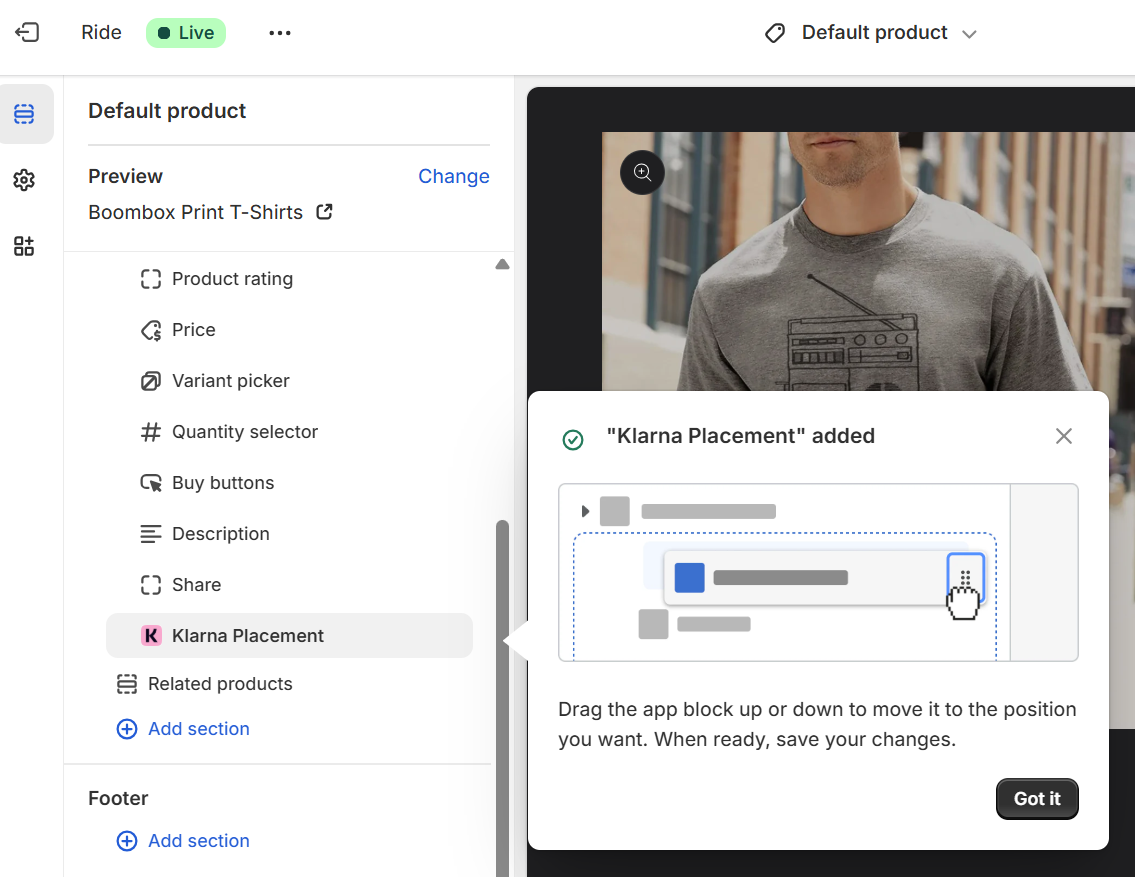
Click Got it
- Select top-strip-promotion-badge from the Placement type dropdown list and click Save.
Select top-strip-promotion-badge from the Placement type dropdown list
- Once saved, open a New Incongito window in your browser and view your store as a customer. Visit a product page to ensure the Klarna On-Site Message block appears in the correct location.