Getting started
This guide walks you through setting up your Shopify store with Reach's embedded solution.
Setting up your Shopify store with Reach
What do you need to do?
Reach can make cross-border sales with Shopify simple; what's more, we make the setup simple, too. Whether you are looking to set up multiple markets or utilize a single entity, this guide can help walk you through the next steps to grow your business.
Contact us at [email protected].
First, you will be introduced to your Reach Representative, who will assist with the setup, configuration, and activation of the Reach embedded solution. Once everyone is ready, a go-live call will be scheduled.
However, before the call, there are a few steps we require you to complete to prepare your store.
If you are using Shopify Plus with multiple entities, there are additional steps required during setup and the go-live call. These will be pointed out to you. Your Reach Representative will contact you with any instructions specific to you and your business.
Getting set up
Your representative will guide you through every step of the go-live call, but before the call, there are a few things you need to prepare:
- Give Reach your collaborator access code and store URL
- Install the Reach data app
- Verify your product setup
- Add Reach's disclaimer and Terms of Service
- Install the Avalara Tax Compliance app
- Install the Shopify Flow app
If you're using multiple entities on Shopify Plus, you will also need to set up new Markets and verify theme compatibility with the new Markets.
Give Reach your collaborator access code and store URL
Reach requires access to your store to begin the configuration process. Shopify offers partner support through collaborator accounts. To access your store through a collaborator account, Reach requires your collaborator access code and your Shopify URL (for example, "yourstorename.myshopify.com").
Follow the steps below to find and share your access code and store URL:
- In your Shopify admin, go to Settings and select Users.
- Select Users or Users & permissions, depending on your store type.
- Select Security and copy the four-digit collaborator access code.
- Send the code and your Shopify store URL to Reach.
Reach will submit a collaborator request; you need to accept it in your Shopify admin under Users.
It is important to accept Reach's collaborator request; your Reach Representative cannot configure your store until the request is accepted.
Install the Reach data app
The Reach data app connects to your Shopify store, providing Reach access to order, product, dispute, fulfillment, and Shopify payments data.
Your Reach Representative will send you a link to begin installing your custom Reach data app.
Verify your product setup
Tax variants
Marking items as non-taxable can cause incorrect tax calculations. Only gift cards or gift certificates can be marked as non-taxable, as they are exempt from taxation in all jurisdictions. All other products must have the Charge tax on this product option set to Yes for taxes to function correctly, regardless of whether you're using Shopify Tax or Avalara's tax services.
To find out if you have products marked as non-taxable, go to your Shopify admin:
- Navigate to Settings, then select Taxes and duties in the side navigation bar.
- If you have items marked as non-taxable, you will see a warning stating: You are not charging taxes on some product variants.
- Click Edit variants.
- Under Charge taxes, select the checkbox to the right of any item for which you'd like to resume charging tax. If you do not see checkboxes, you do not have sufficient permissions to edit products.
- Click Save.
Product categories
Next, ensure your products are properly categorized. If you are using Shopify Tax, product categories can determine tax rates or exemptions. They are also necessary for store navigation and improved metadata.
For more information on categorizing your store's products, read Shopify's Standard Product Taxonomy.
Add Reach's disclaimer and Terms of Service
As Reach is the Merchant of Record (MoR), you must display Reach's disclaimer and Terms of Service on your checkout page. This is enforced by the card schemes (Visa, Mastercard, etc.) and can help prevent customer confusion about the parties involved in the transaction.
Install the Avalara Tax Compliance app
Complete this step if you are using Avalara's tax services as indicated by your Reach Representative. If you are using Shopify Tax, please disregard this step.
The Avalara Tax Compliance app connects Avalara's tax services with your Shopify store. This app applies tax rates, calculates tax amounts, and recognizes tax exemptions.
To begin, install the app and grant Reach the required permissions. Your Reach Representative will configure and activate the app during your go-live call.
Install the Shopify Flow app
The Shopify Flow app helps Reach block transactions from sanctioned countries based on the consumer's country and bank identification number (BIN). Using Reach payment data, we’ve identified fraudulent BINs and card ranges that Shopify Payments does not cover.
To comply with regulations on blocking fraudulent transactions, we’ve added measures using the Shopify Flow app to block these unwanted transactions. Your Reach representative will provide the necessary information to configure your app.
Majority of stores do not recieve these fraudlent transactions, these are simply precautionary measures to protect your business.
Additional steps for Shopify Plus suppliers with multiple entities
Complete these steps if you are using Shopify Plus with multiple entities. Suppliers who are using a single business entity can disregard these steps.
Set up the new Markets feature
You will need to enable the new Markets feature through the feature test drive.
- In your Shopify admin, click Markets, then click Enable Markets in Test Drive.
- Under Organization, select Feature test drives and locate the new Markets section.
- Click Activate features on stores and select the stores you want to activate with the new Markets experience.
- Click Save.
Check for any incompatible apps after enabling the new Markets feature. If you find an incompatible app that you do not need, uninstall it. If you require the app, please provide us with the app's name and purpose so we can ensure there are no conflicting functionalities.
Create markets based on Reach's business entities
To map sales to the correct business entity, you'll need to create a market for each region you are selling into. If your new market has a parent market, it will inherit customizations from the parent market.
- On the Shopify Home page, click Markets in the side navigation menu.
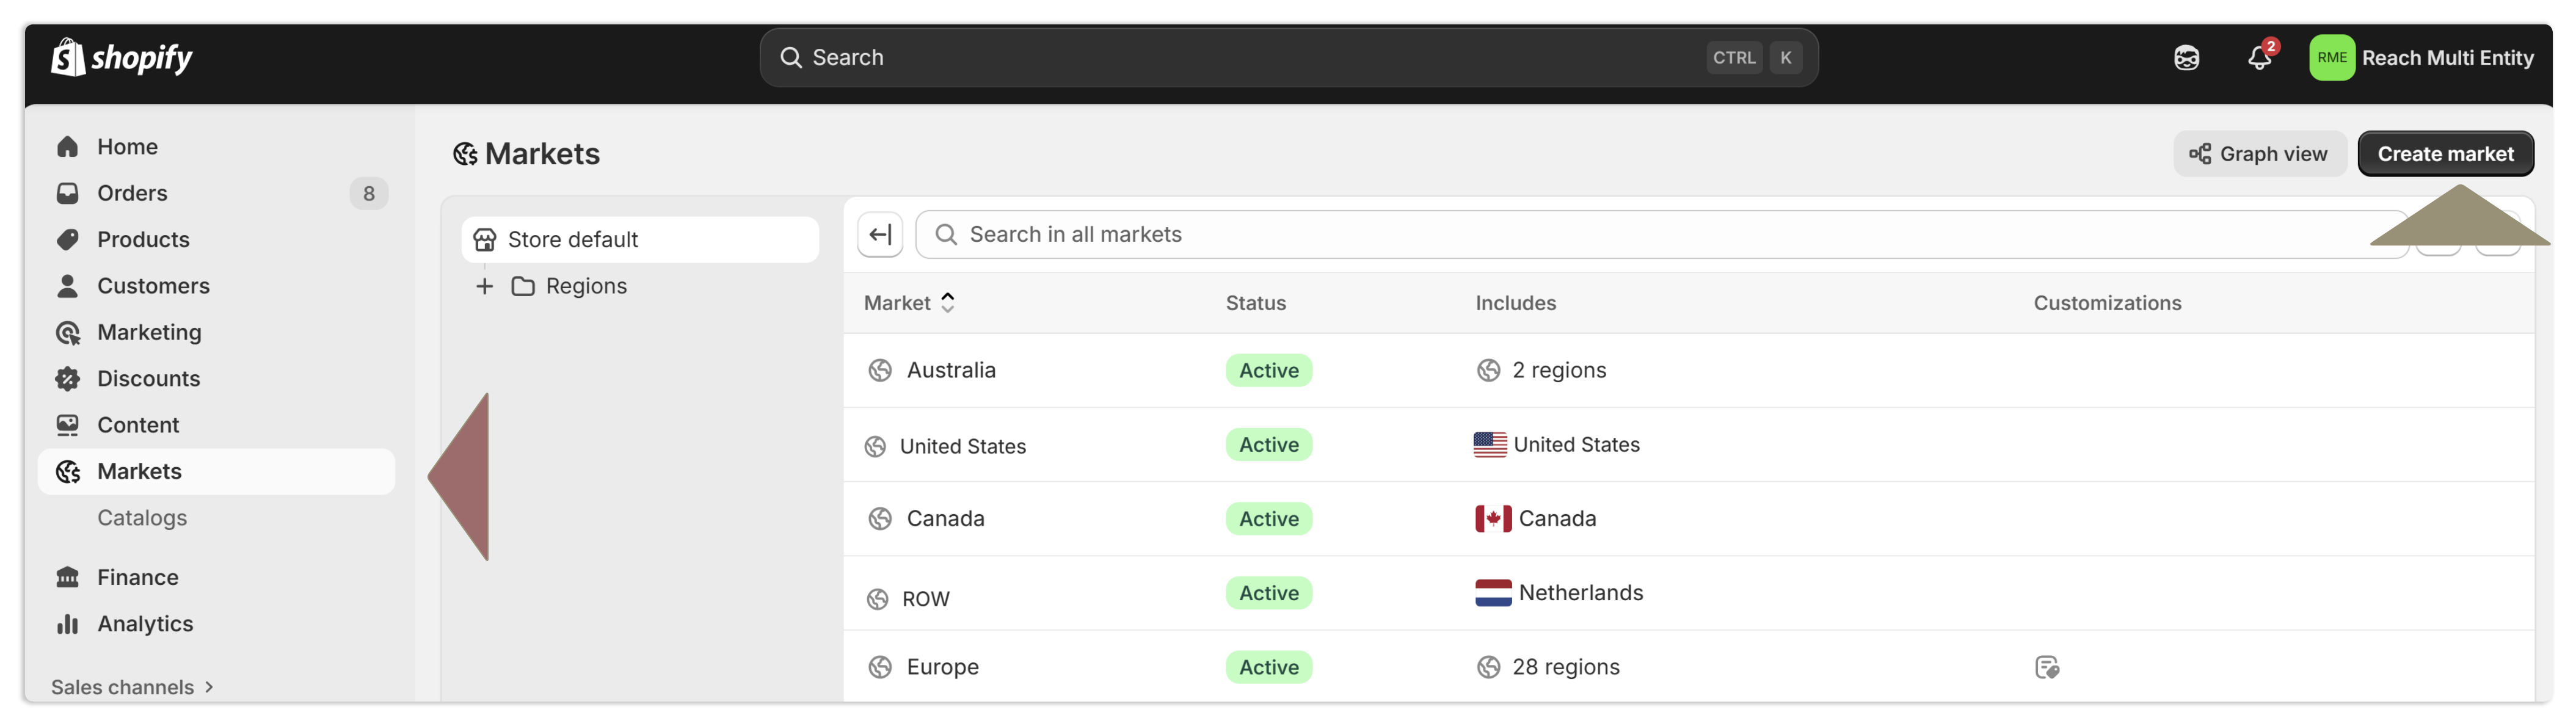
- Click Create market.
- In the New market window, enter the market's name:
Selling into Canada
Canada
Selling into Australia
Australia
Selling into the United Kingdom
United Kingdom
Selling into the United States
United States
All other countries you to ship that will use Reach
Rest of World (RoW)
Denmark, Estonia, Finland, France, Germany, Greece, Hungary, Ireland,
Italy, Latvia, Lithuania, Luxembourg, Malta, Netherlands, Poland,
Portugal, Romania, Slovakia, Slovenia, Spain and Sweden
If you are selling into any of these countries title the market the European Union (EU)
- Click Add condition and select the checkbox next to each country where the market will sell, then click Done. Use the same list as before to select the correct countries for each market.
- Click Taxes and duties, then click Tax display and select the appropriate option. For the United States and Canada, you may choose either 'Dynamic tax display' or 'Show as line item'. For all other countries, you can select either 'Dynamic tax display' or 'Show as included'.
- Dynamic tax display: Select this option to have Shopify include or exclude taxes based on the customer's region. This means that customers will see the final price, with or without taxes, depending on their location.
- Show as included: Select this option for tax-inclusive countries. This means that the price shown to the customer already includes the applicable taxes.
- Show as line item: Select this option for tax-exclusive countries. This means the price shown to the customer does not include the applicable taxes. Taxes will be shown as a separate line item.
- Click Save.
Repeat these steps for each additional selling entity.
Verify theme compatibility
Check your theme's feature list for market compatibility. If your store does not support new markets, you can try updating the theme to the latest version or finding a theme that supports your needs. If your theme is compatible, you can customize your theme for each market.