Search

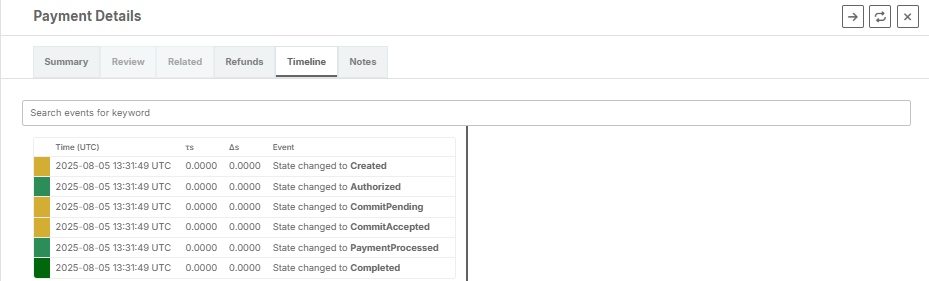
Suppliers can use the Search section to review transactions, confirm the status of a transaction, or generate a refund. You can organize this information in a timeline at a granular level.
Using the search tool
The search tool allows you to look up transactions, refunds, or chargebacks and export the results to a CSV file.
- Click Search from the side navigation menu.
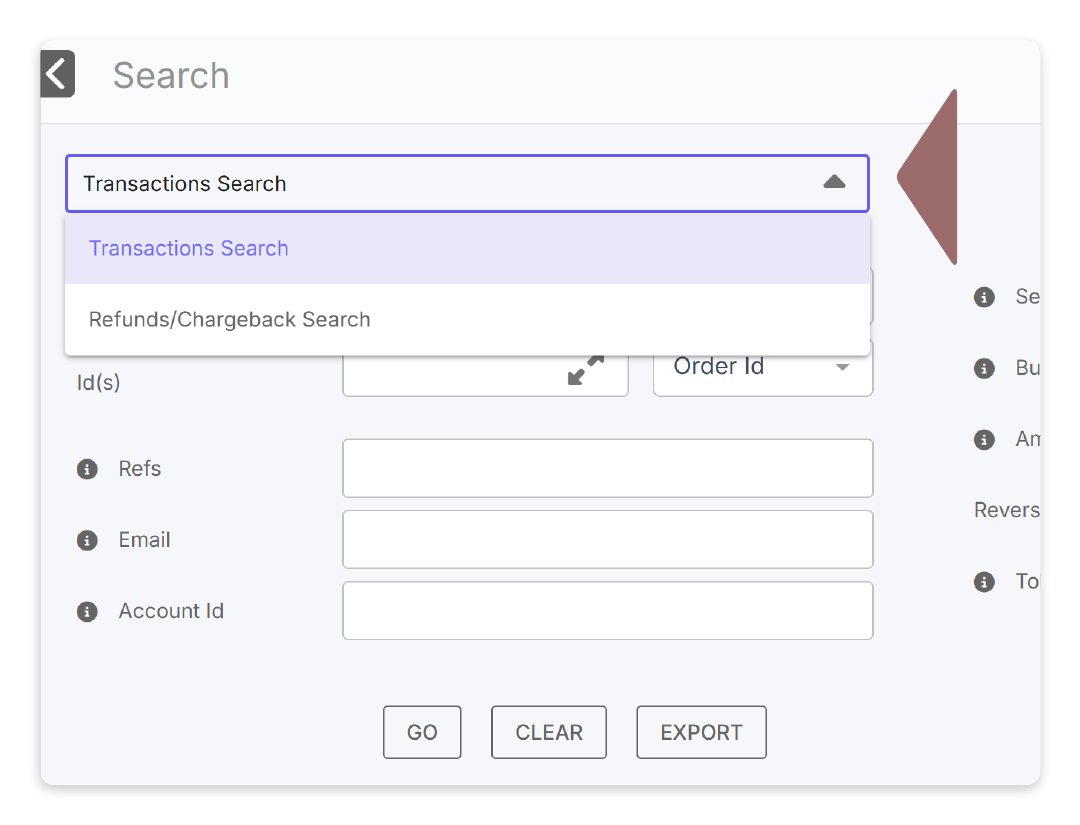
- Select either Transaction Search or Refunds/Chargebacks Search from the top dropdown.
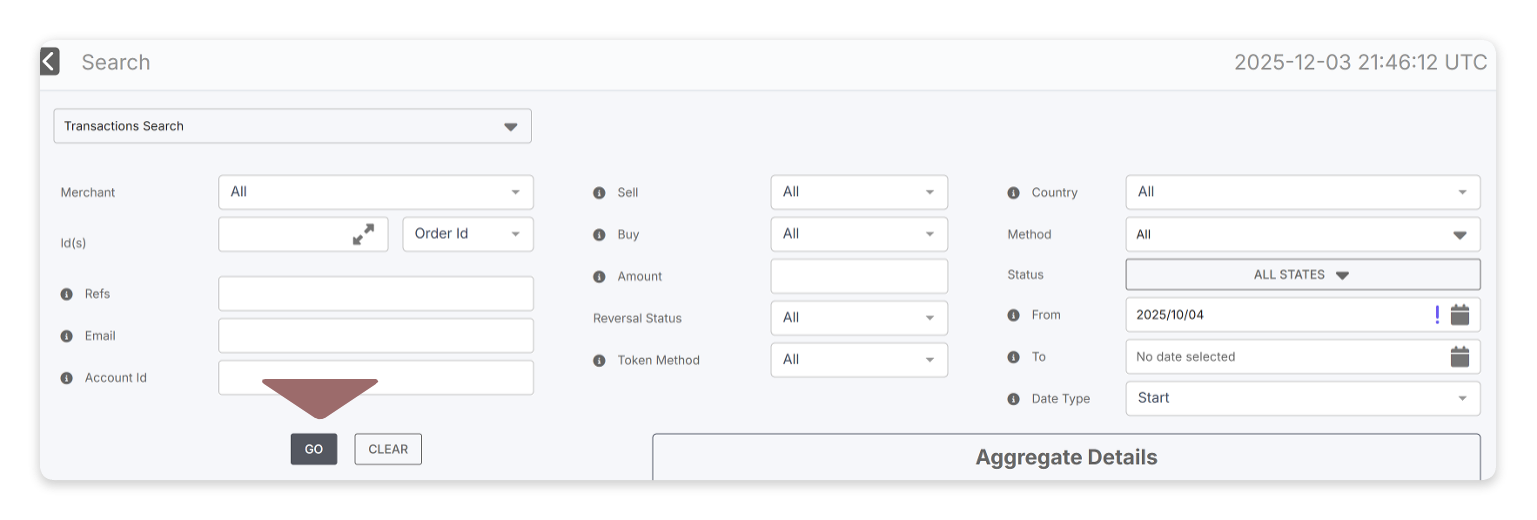
- Use the fields to filter your search results, then click GO to retrieve the results.
- To export the search results, click Export. The Reach Admin Portal will download the search results to a CSV file in your Downloads folder.
Please note that the Transaction Search export includes values for cancelled transactions and does not include refunds. To view a report that reflects these adjustments, review your monthly settlement report.
If you make edits to your search filters, click GO again, as your search results will not be automatically updated.
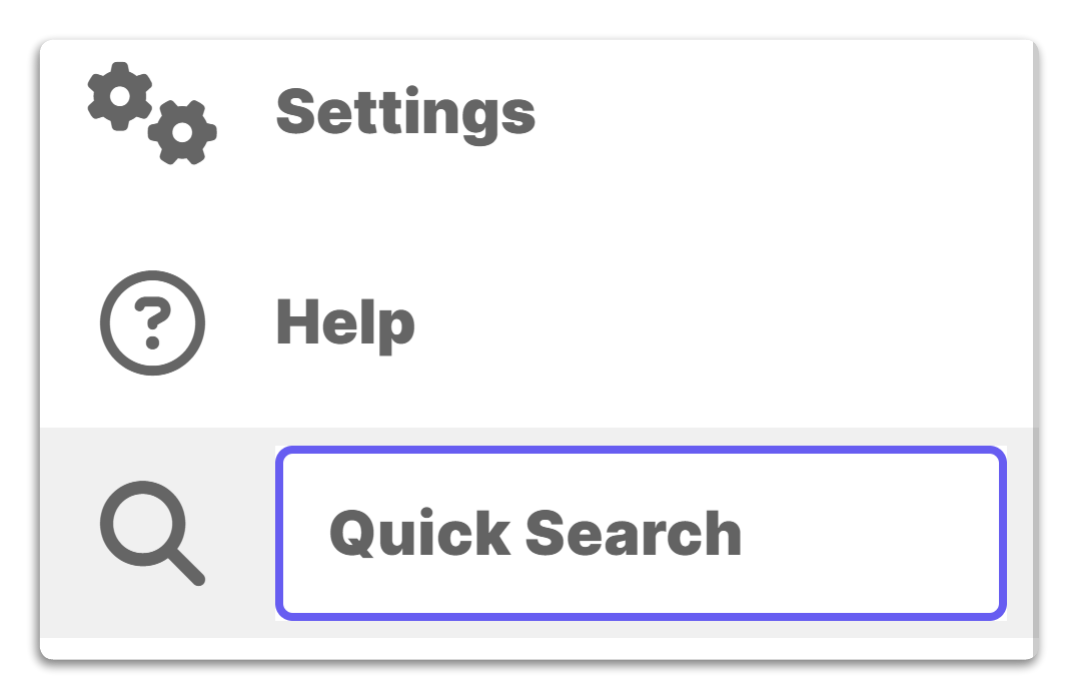
Quick Search
Use the Quick Search field at the bottom of the side navigation bar to navigate directly to a specific transaction or period. Simply enter a target date range or Account ID to view the matching records.
Transaction Search
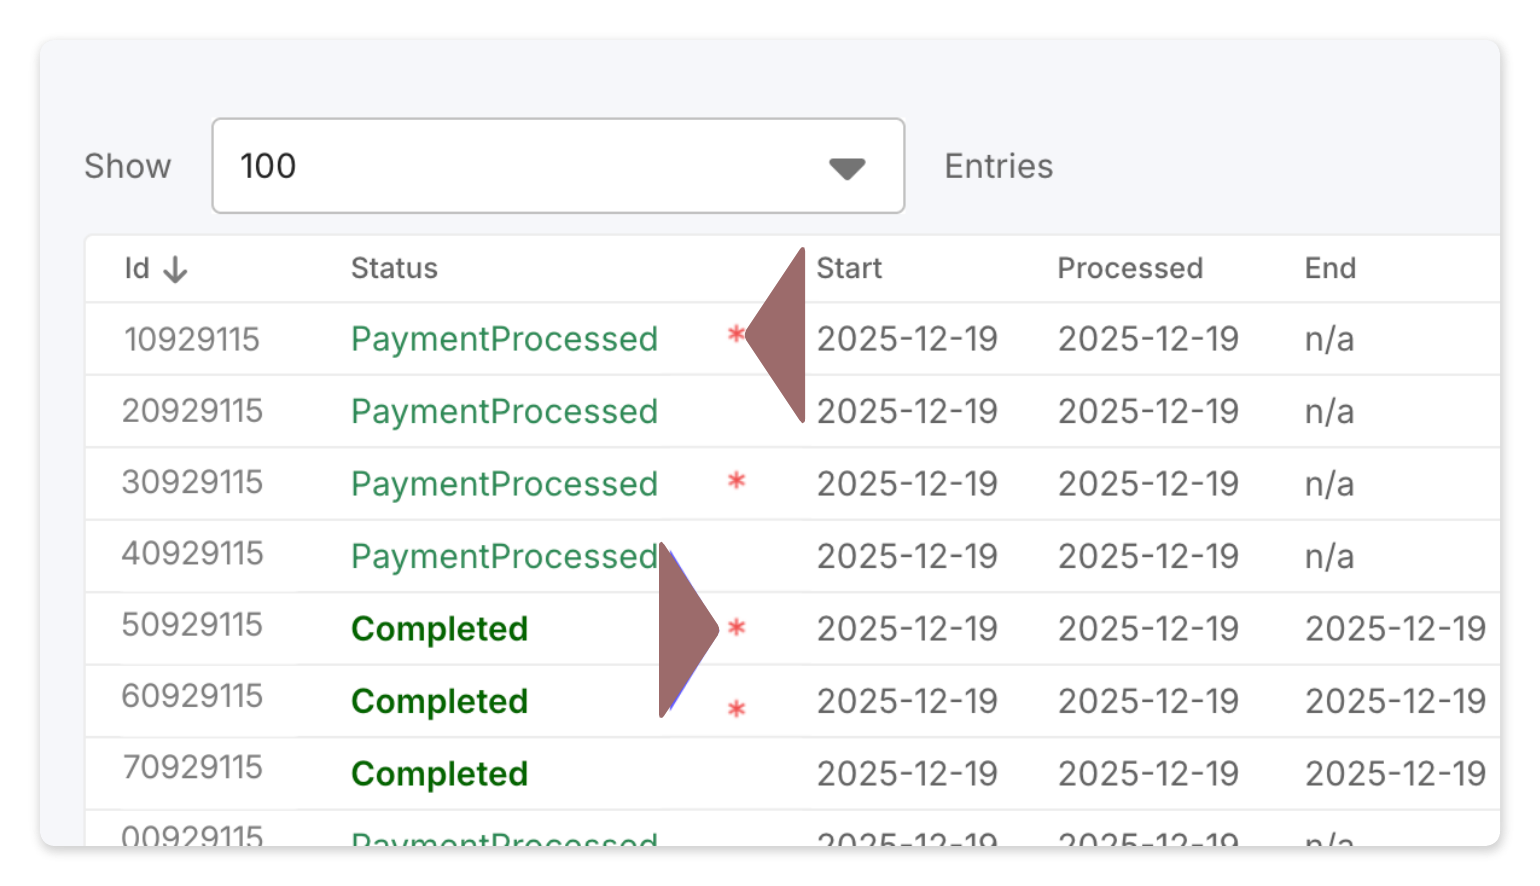
The search section defaults to the Transaction Search, where you can search for a specific transaction when you require more details. You can narrow your search results using various criteria, including date ranges, transaction status, payment method used, and more.
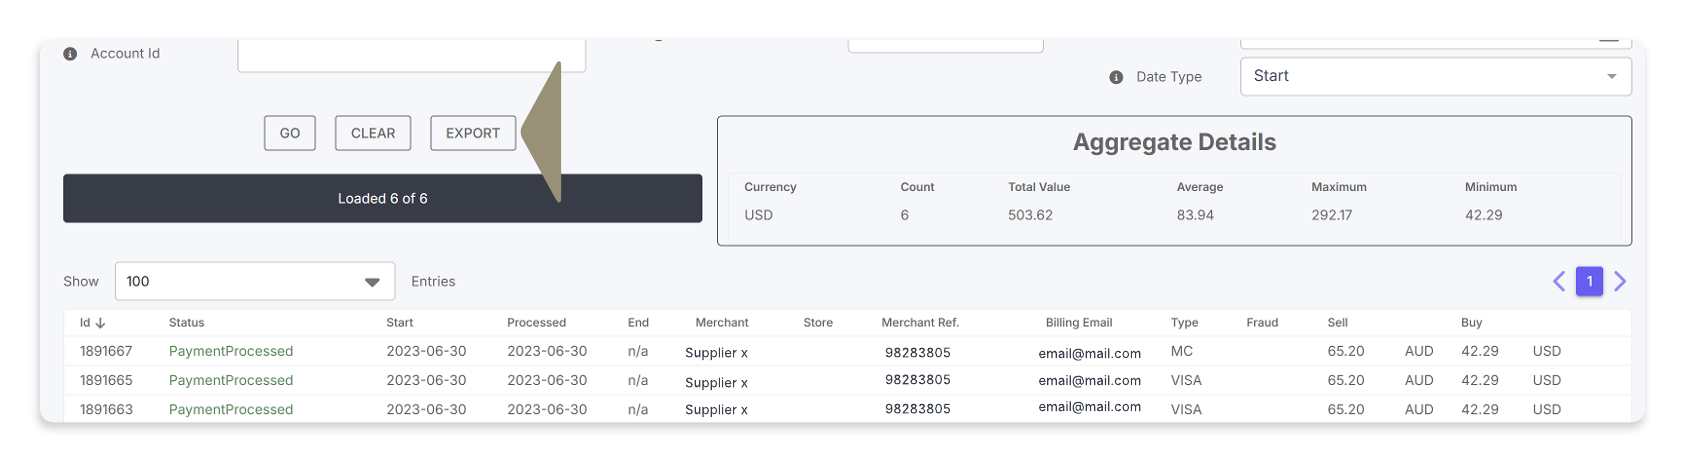
The Aggregate Details section provides information on the search results as a whole, such as the most common currency, total volume, and average volume.
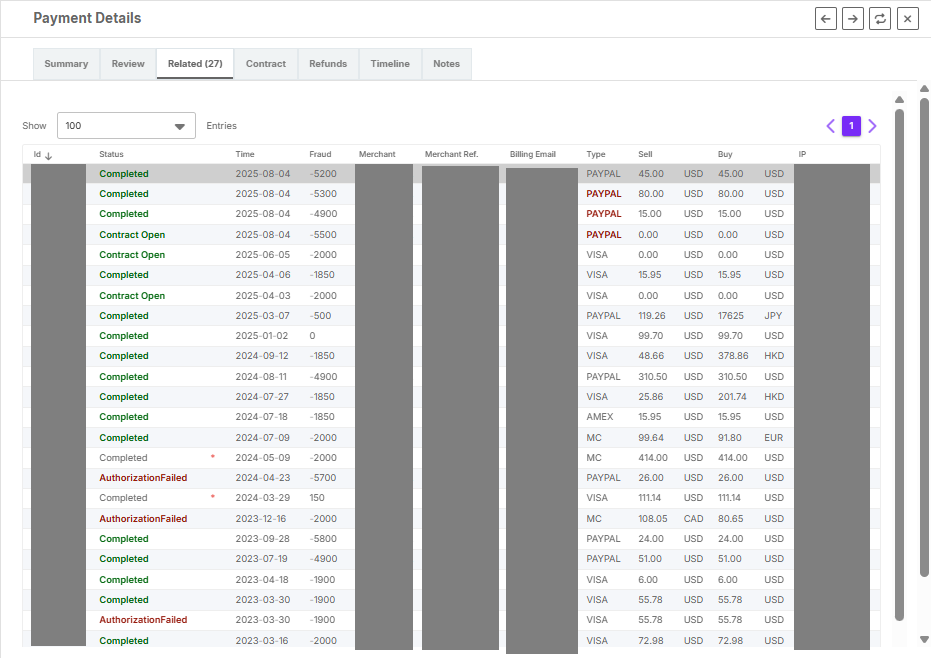
A transaction with a red asterisk beside the transaction status denotes that some type of reversal, chargeback, or refund is associated with that line item.
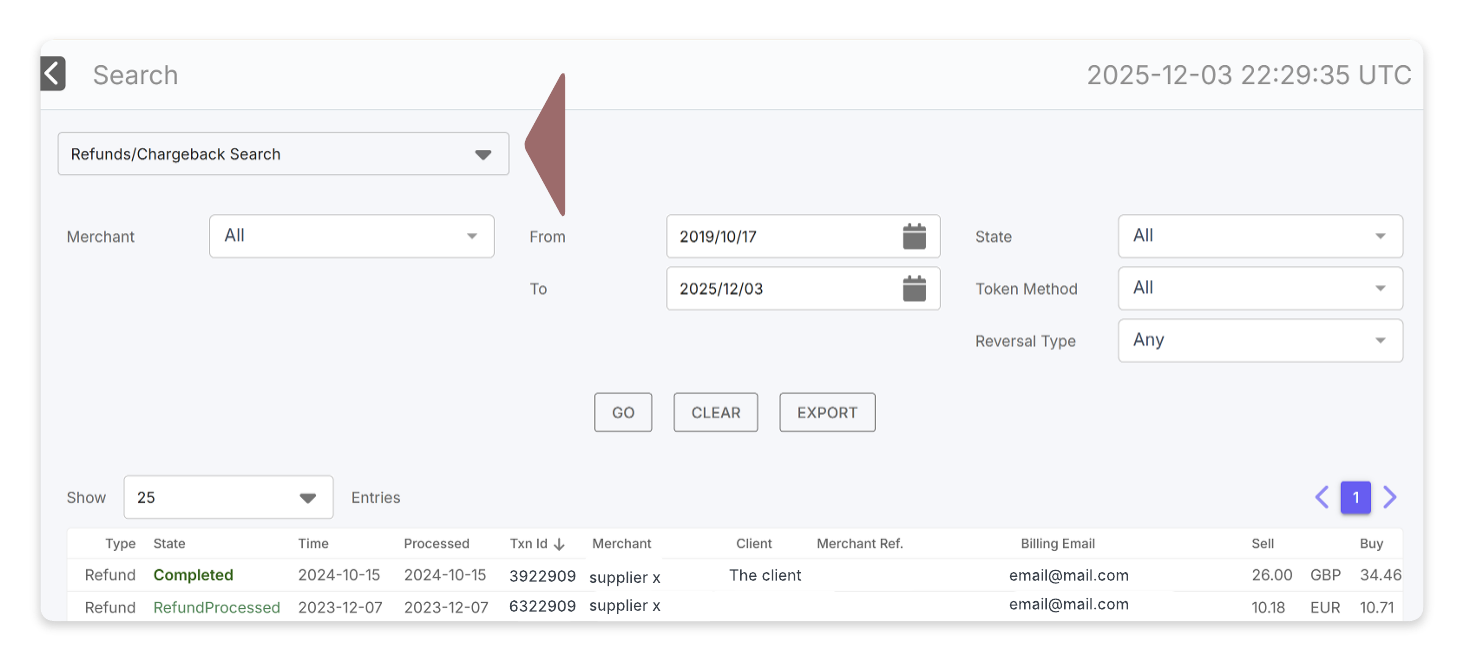
Refunds/Chargeback Search
Select Refund/Chargeback Search from the dropdown list to search for refunds and chargebacks. Use the Reversal Type field to narrow the search results to only refunds or only chargebacks.
You can narrow your search results using criteria such as date ranges, state, and the token method used (Apple Pay, Shop Pay, etc.).
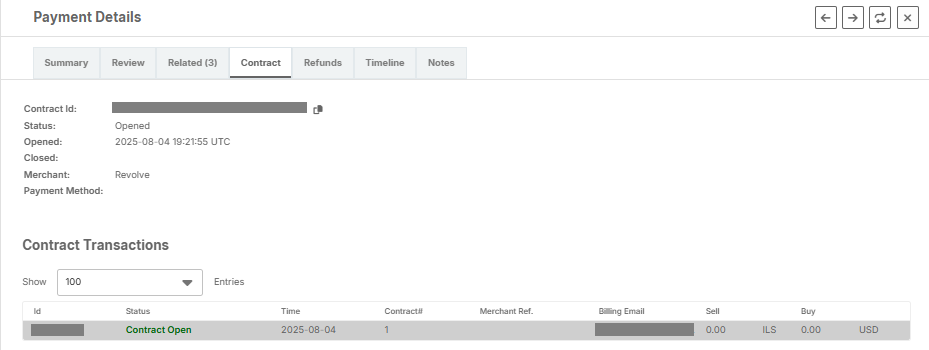
Payment Details window
For more details on a specific transaction, chargeback, or refund, you can access the Payment Details window.
In the search results, click on the row of the transaction to open the Payment Details window.
The Payment Details window is broken down into tabs.
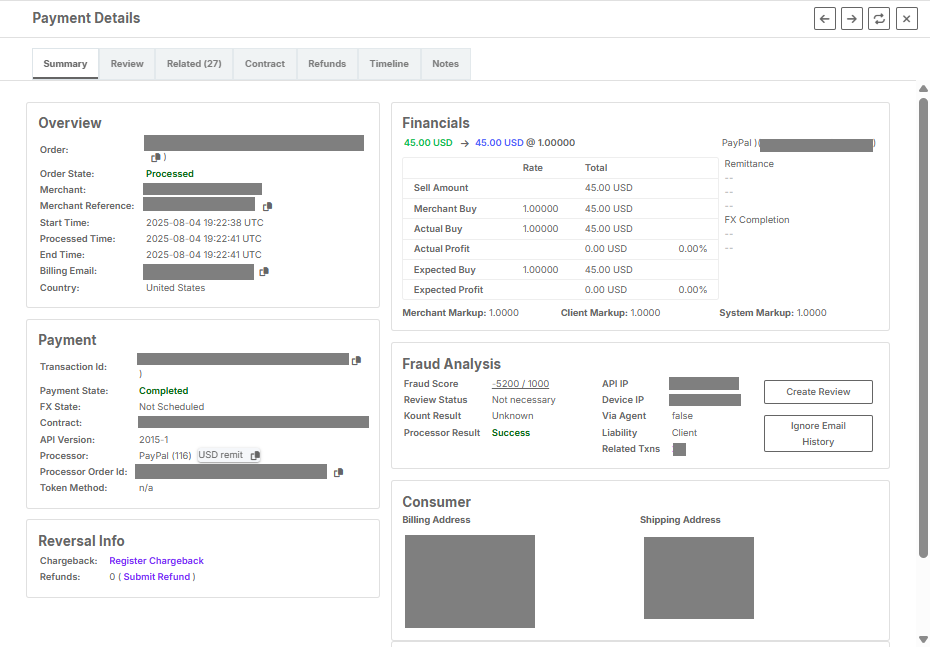
Summary tab
Summary tab
The Summary tab displays the transaction details, including card details, the foreign exchange rate of the specified transaction, and more.
The Reversal Info area displays any refunds or chargebacks related to the transaction.
The Fraud Analysis section shows details related to fraud; however, because Reach offers customized fraud solutions to each specific supplier, the information here can vary.
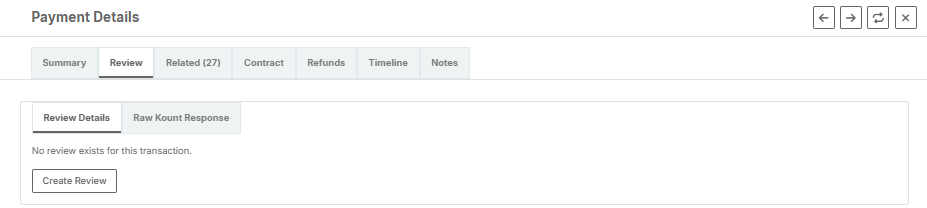
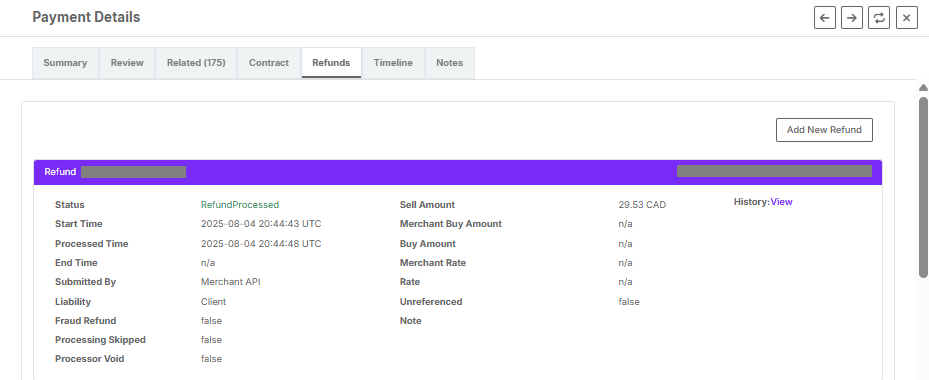
Refunds tab
Refunds tab
The Refunds tab lets you review previous refund information or process a refund for a transaction. To generate a refund, see Creating a refund for instructions. All Shopify refunds are handled through the Shopify admin for Shopify stores, following standard Shopify refunding steps.
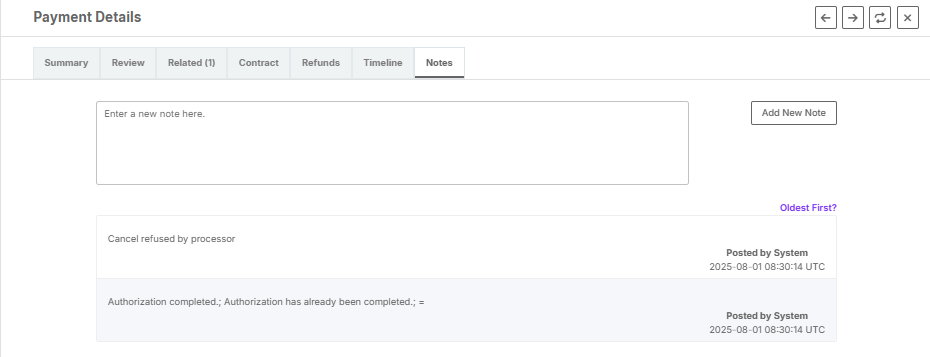
Notes tab
Notes tab
You can leave notes for individual transactions. These notes can assist accounting and customer service teams. To add a new note, type your content in the text field and click Add New Note when finished. The note will appear in a list below the text field. You can sort notes by date by clicking Oldest First or Newest First.
Refunds
You can create a refund through the Reach Admin Portal. Processing times for refunds may vary depending on the bank and payment method used. Reach will process the refund using the payment method on file. You have a maximum of 90 days to complete a refund. If a refund is related to a chargeback, dispute, or request beyond 90 days, contact [email protected].
Foreign exchange and refunds
Reach offers two foreign exchange (FX) solutions: Standard FX, where the supplier assumes the risk of currency rate fluctuations, and Guaranteed FX, where Reach locks in the rate to protect against volatility.
For suppliers utilizing our Guaranteed FX solution, Reach maintains protection for refunds or exchanges. The foreign exchange rate remains fixed for 30 days after the transaction is made.
Shopify refunds
All refunds are handled through the Shopify Admin for Shopify stores, following standard Shopify refunding steps.
The advantage of the embedded Shopify solution is that it requires no technical integration. This allows you to use your store through Shopify's admin without needing to visit a third-party site.
PayPal refunds
PayPal has a hard limit and cannot be refunded beyond 180 days.
You can refund PayPal orders directly from the Shopify dashboard, just like any other orders. However, if you are switching from your PayPal account to a Reach PayPal account, orders made using your previous PayPal account must be initiated from your previous PayPal dashboard, not Shopify.
Funnelish refunds
Partial Funnelish refunds require manual action by the Reach team at [email protected].
This action is not required for full refunds.
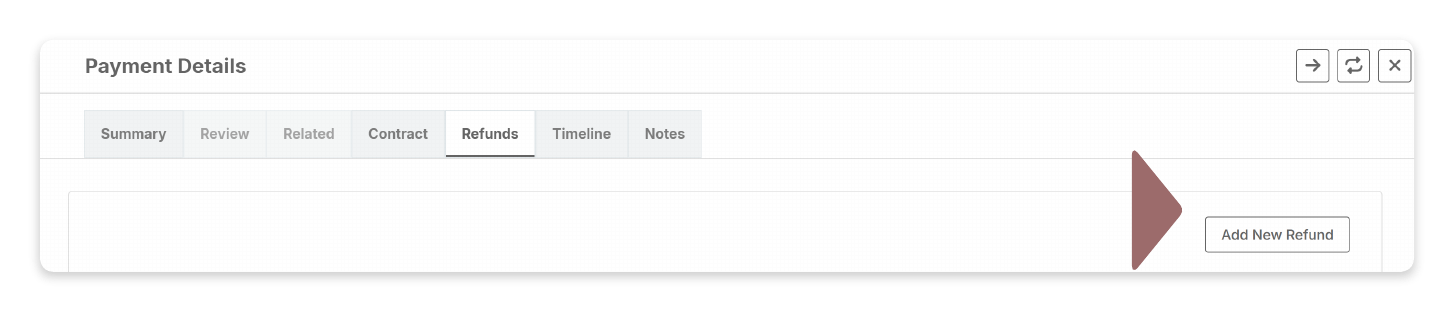
Create a refund
First, use the search tool to filter for the relevant transaction. Click on the transaction row to open the Payment Details window and navigate to the Refunds tab, then follow the steps below. You can edit refund amounts by following the same process.
- Click Add New Refund.
- Enter the required refund information and applicable notes on the Submit Refund window.
Ensure the information matches your other systems, including noting full or partial refunds, correct currency, referencing related ticket numbers, and other details specific to your business operations.
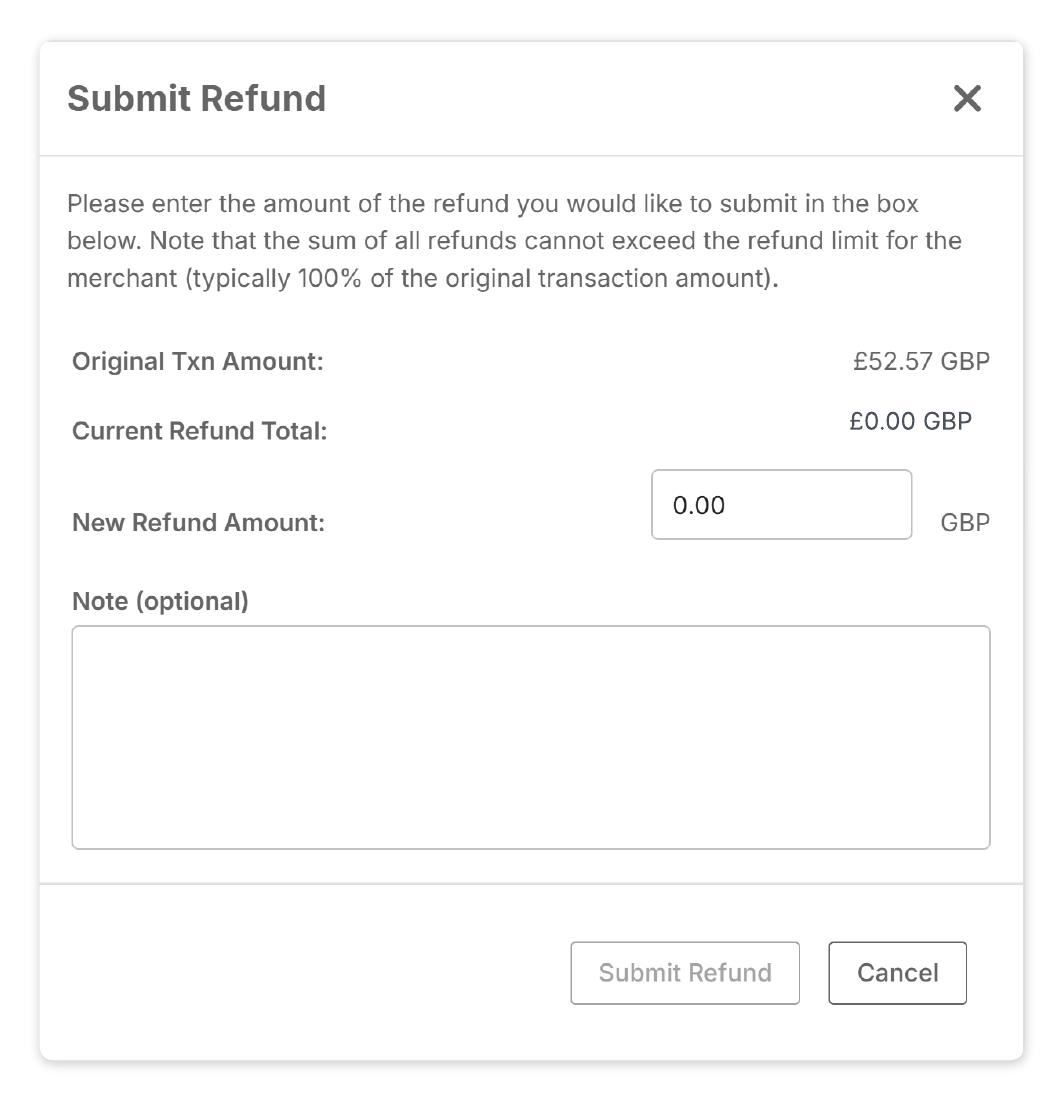
- Click Submit Refund.
You will receive a success message stating:
The refund has been successfully submitted.
Updated 26 days ago