Your Shopify and Reach go-live
Review the steps your Reach representative will guide you through on the go-live call
After completing the required setup steps, it is time for your go-live call. Your Reach representative will accompany you throughout the process, helping you navigate every step and providing all the required information for a seamless configuration of the Reach embedded solution.
This document is available to you for reference during the go-live call or if you wish to review the process beforehand.
Please note that during the go-live call, your store owner must be present.
Have a technical question? Need strategic advice?
Contact us at [email protected]Please wait for your Reach representative before attempting these steps. In order to correctly configure your store, you will need to collaborate with your Reach representative. They will securely provide the information required to complete this process.
Single entity or multiple entities?
There are additional steps to follow when setting up a Shopify store with multiple business entities. This option is only for those suppliers on a Shopify Plus plan.
Certain steps will be marked as single or multi-entity. You can view the steps relevant to your store's setup by selecting the <strong>Multiple entities</strong> or <strong>Single entity</strong> tabs where applicable.For Shopify Plus suppliers setting up mutltiple entities, there will be an initial call with the store owner to set up Reach's entities and ensure proper configuration before the go-live call.
Deactivate Shopify Payments
Multi-entity suppliers can disregard this step. For single-entity suppliers, this step is only applicable if you are currently using Shopify Payments. Your Reach representative will inform you if this step is required.
If you are currently using Shopify Payments, your account will be deactivated. Later, Reach's Shopify Payments account will be added and activated in its place. Please ensure your existing bank account information is available during the call. Shopify needs this information to update your account.
To deactivate Shopify Payments, navigate to your Shopify admin and follow the steps below:
-
Select Settings, and then choose General.
-
Under Store details, hover over Billing information and click the Edit icon next to the billing address.
-
Click the deactivate Shopify Payments link.
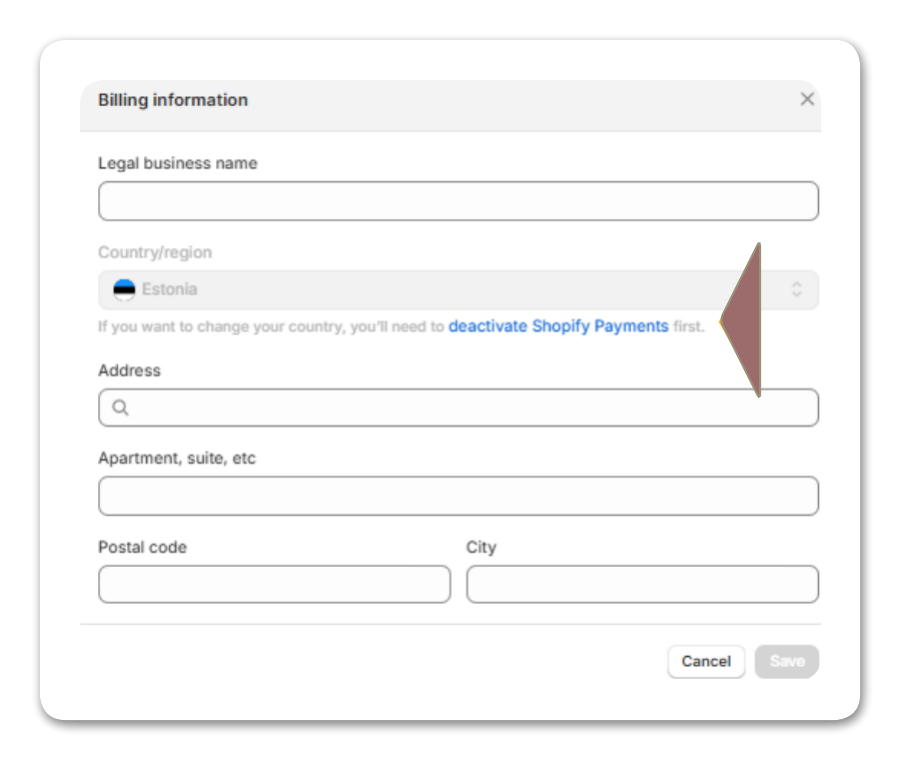
- Click the Deactivate Shopify Payments button to confirm.
Add a Reach business entity to your Shopify store
A Reach business entity (also referred to as a selling entity) must be configured for each required market in your Shopify admin. This step varies depending on the setup of your Shopify store.
For instructions, select your Shopify store.
Activate Shopify Payments
Once your Shopify store is set up with a Reach entity, Shopify Payments can be activated.
This step is different depending on your store setup. Suppliers with multiple entities must link Shopify Payments to the correct Reach business entity for each market.
To update your Shopify Payments account you will need your bank account information on hand. Your store owner must be present to complete the process.
To activate Shopify Payments, go to your Shopify admin and navigate to Settings, then Payments.
- If you have already set up a Shopify Payments account, click Manage in the Shopify Payments section. If you have not set up a Shopify Payments account, click Complete account setup.
- Complete the fields with the information and documents provided by your Reach representative.
- Click Submit for verification.
Suppliers with multiple entities will be guided to link the Shopify Payments account to the correct Reach business entity. This ensures that the correct Shopify Payments account is processing transactions for the correct business entity and its associated markets.
Shopify may require additional documentation for underwriting purposes. Watch the notification bell in your Shopify admin for updates regarding these requirements and submit the necessary documents promptly to avoid payout delays.
Add Reach's bank accounts to Shopify Payments
You must add Reach's bank account information to Shopify Payments for proper transaction processing. Your Reach representative will provide this information during the go-live call.
- In your Shopify admin, select Payments and then click Shopify Payments.
- Click Add Shopify Payments account.
- Follow your Reach representative's guidance to enter the correct bank account information.
- Click Save.
Shopify warning message
When you add a bank account and click Save, the following message will appear:
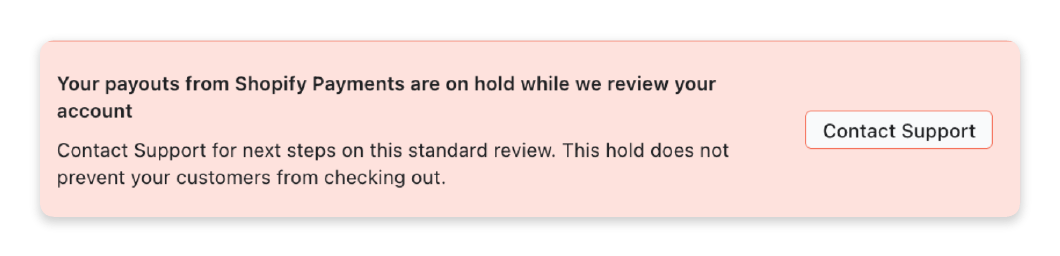
When presented with this message, don't worry. Shopify will hold payouts while it verifies the new account, but shoppers can still proceed with a seamless checkout and complete their purchases. This verification process ensures the security of your account without disrupting your customers' shopping experience.
Add third-party payment methods
You may be adding Klarna or PayPal as payment methods to your store.
Klarna and PayPal can be configured during the go-live call, with guidance from your Reach representative. If you wish to add third-party payment methods, contact the Reach support team.
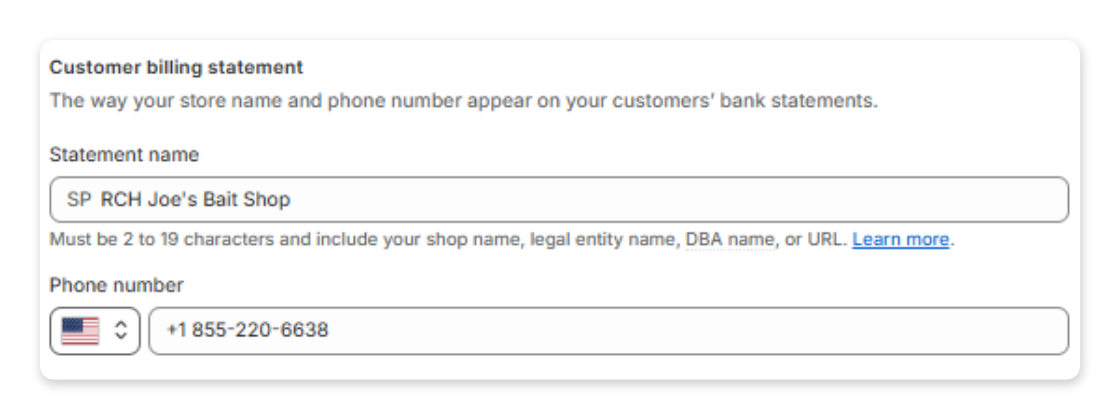
Update the name on the billing statement
A billing descriptor is the line of text that appears on a consumer's credit card or bank statement. You must include Reach—displayed as RCH— in the descriptor. For more information on billing descriptor requirements, please refer to the Billing descriptors page.
To change the name on your billing statement:
- Go to your Shopify admin, and click Settings, then from the left navigation select Payments.
- Under Customer billing statement, in the Statement name field addRCH between the Shopify Payments (SP) and your identifier.
- Click Save.
For further details on editing your customer billing statement, read Shopify's Configuring Shopify Payments: Customer statement name.
Verify or add your ship-from address
To ensure your taxes are accurate, please verify that your ship-from address (i.e., your warehouse) is correct. You may have multiple ship-from addresses. You may add, edit, and update addresses as needed.
To verify your ship-from address:
- Go to your Shopify admin, and click Settings, then from the left navigation select Locations.
- Under All locations, please verify that the addresses shown are correct.