Checkout Champ guide
Checkout Champ offers an integration with the Reach gateway. It provides an easy way to begin using Reach without any coding required.
This guide walks you through setting up your Checkout Champ store using our embedded solution. The solution allows you to seamlessly integrate Reach into your Checkout Champ store and use Reach's Merchant of Record (MoR) features.
Step 1. Activate the Reach Gateway
Do not begin this step until the scheduled go-live call with Reach. Your Reach representative will provide the gateway settings during that call.
-
Sign in to Checkout Champ.
-
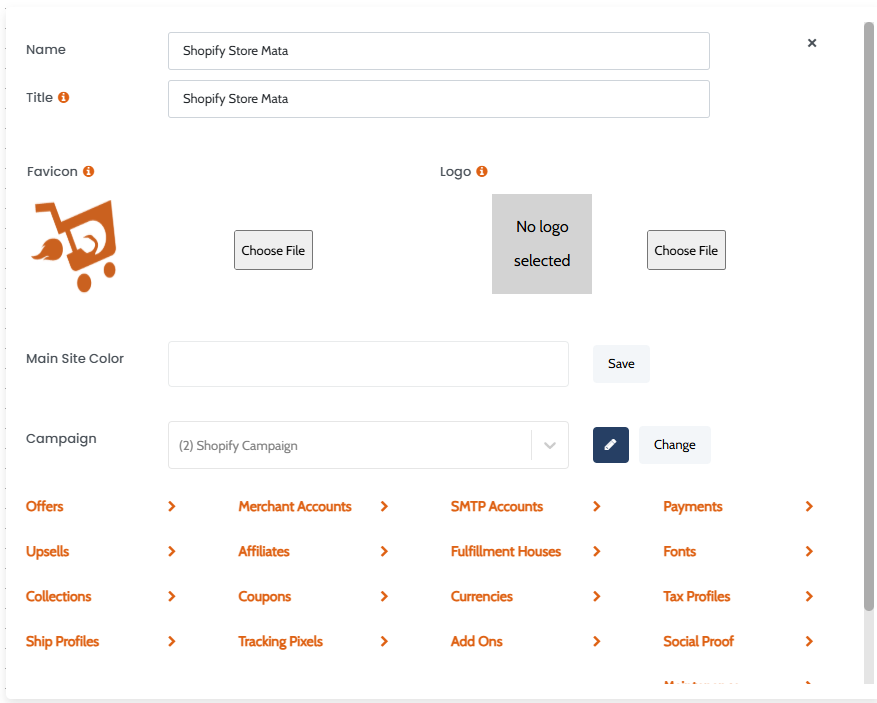
Click CRM in the left navigation.
-
From the CRM page, click Setup Gateway Providers.
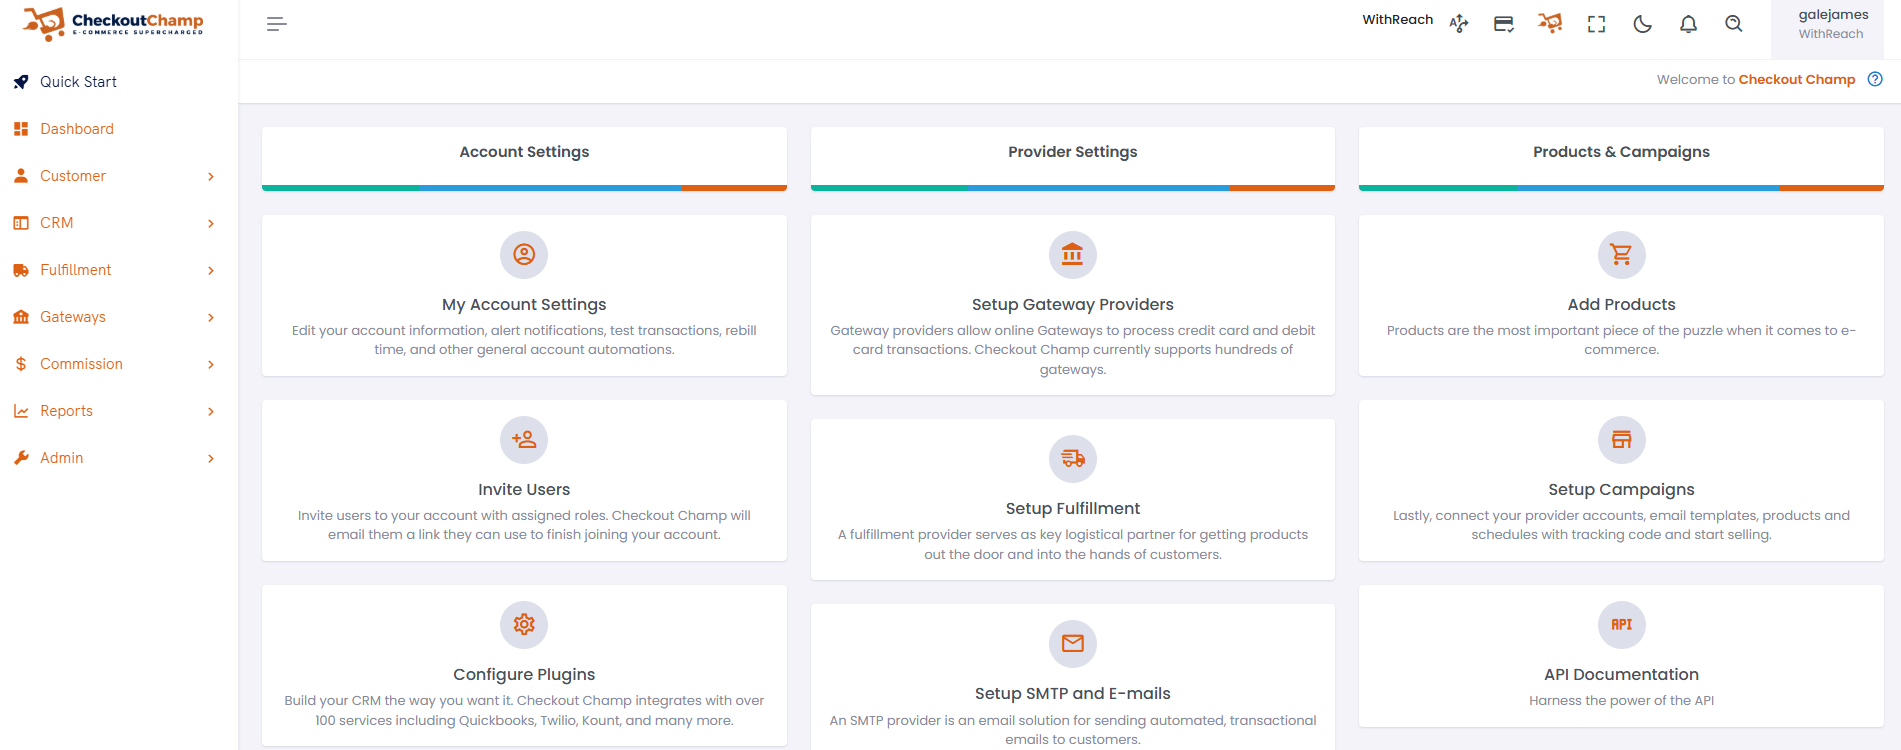
Click Setup Gateway Providers
-
In the Search field, type Reach, click the Reach pane in the search results, and then click + Activate. See Step 2 for instructions on configuring the Reach settings.
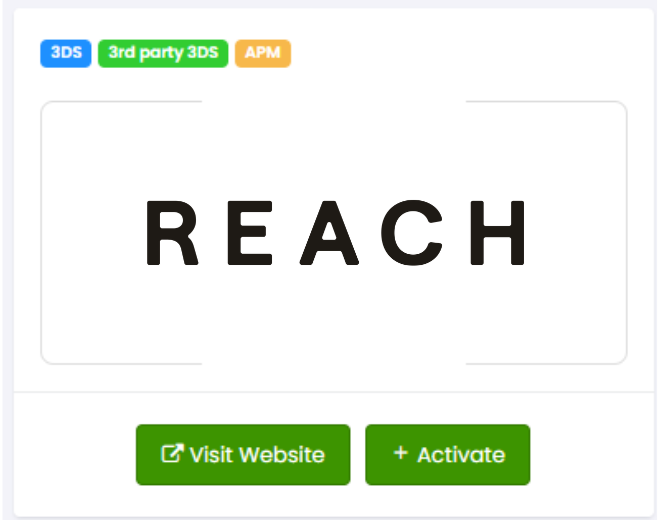
Click the Reach pane
Step 2. Configure the Reach gateway settings
-
Complete the fields under General Details, Customer Service, and Gateway Details from the Create New Gateway page.
Field
Description
Title
Enter the name of the merchant account.
Phone #
Enter your store or customer service phone number.
Category
Select your company’s business category from the Category dropdown list.
Chargeback #
Enter the customer service phone number for chargebacks on the gateway.
Gateway
Select withReach from the dropdown list.
Email
Enter the customer service email that customers should use related to the gateway.
MerchantId
Enter the merchant ID provided by your Reach representative.
URL
Provide the URL for the gateway's support web page.
HMACSecret
Enter the HMAC secret provided by your Reach representative.
useTestServer
Enable this feature to use Reach's sandbox. You must enter your Reach-provided Sandbox Merchant ID and HMAC Secret when enabled.
acceptLiability
Enable this feature to use 3rd-party fraud plugins. You can turn off this feature when using Reach's fraud screening.
Descriptor
Under the Gateway Details section, enter the name you want to appear on your customer's credit card statements when they purchase a product from your store. This name will help customers identify the charge and reduce chargebacks due to unrecognized transactions. The format for the statement descriptor is RCH- and use Reach's Mercha, where your descriptor must be from 2 to 19 characters in length.
Mid #
Under the Gateway Details section, enter your merchant ID number in the Mid # field.
- Note*: TheMid # is a required field. You can enter your merchant ID or any value you want. It just can't be blank.
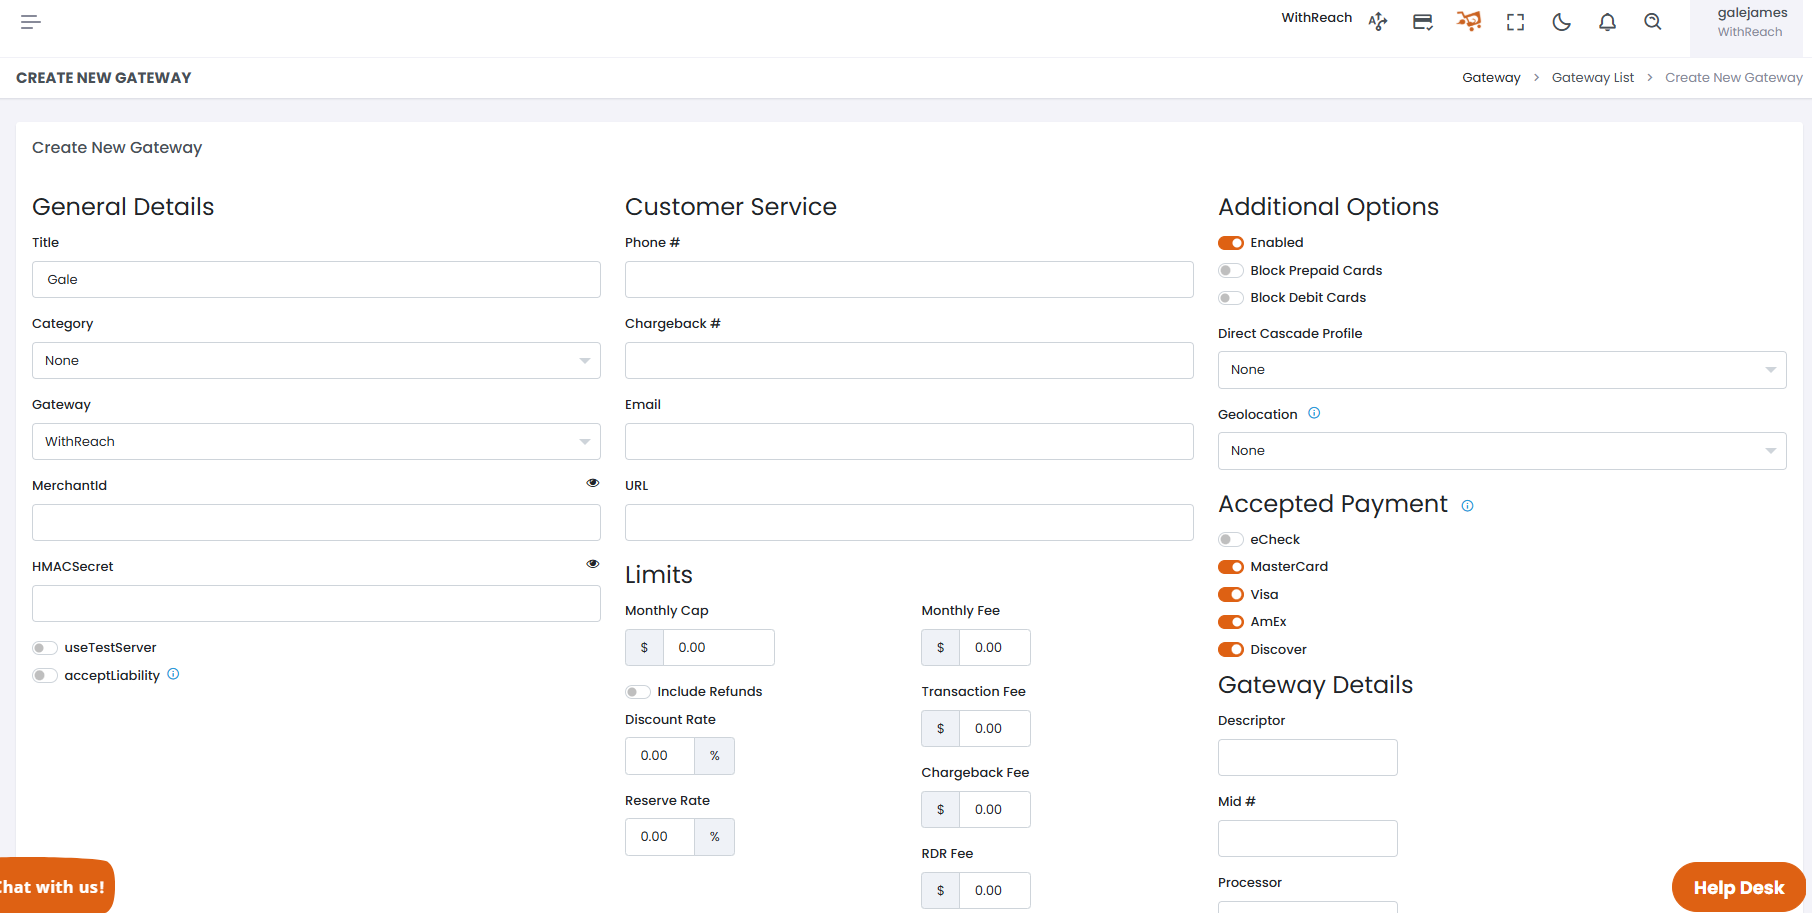
Create New Gateway page
- Under Accepted Payment, turn on the payment methods supported by the WithReach plugin. The WithReach plugin supports the following payment methods:
- PayPal: This option does not appear in the Accepted Payment list. See Step 3 for instructions on enabling PayPal.
- MasterCard
- Visa
- AmEx
- Discover
Recommended
We recommend enabling all default payment methods.
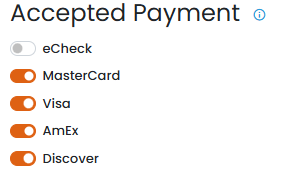
Enable all default payment methods
- Click Create Gateway. Your gateway will appear in the Gateway List.
Step 3. Enable PayPal (only required if you're using PayPal)
If you're using PayPal through Reach, follow these steps to enable PayPal through Reach.
-
Open the funnel using the WithReach Gateway.
-
Click Settings.

Click Settings
-
Click Payments.
Click Payments
-
From the Payments modal, click PayPal, and select the Reach gateway you created in Step 1 from the Gateway dropdown list.

Click PayPal
-
Click Save & Continue.
Step 4. Enable the Reach Gateway
If you plan to use the Reach Gateway for credit cards, follow these steps to enable Reach payments on your funnel and display the Reach Badge.
- Open the funnel using the WithReach Gateway.
- Click Settings.

Click Settings
- Click Payments.

Click Payments
- From the Payments modal, click Reach.

Click Reach
- Enter the Reach Merchant ID you provided for the MID # in Step 1.
- Enter the locale code (such as en-CA) you want for your store in the Locale field.
- Choose your Badge theme ( Darkor Light) from the Theme dropdown list.
- Click Save & Continue.
Step 5. Republish the funnel
Save the setting and republish the funnel. Refer the client to the Checkout Champ documentation and provide a link. For non-payment-related questions, contact your Checkout Champ support.
-
Click Funnels in the left navigation pane.
-
From the Funnels page, click your store's tile.
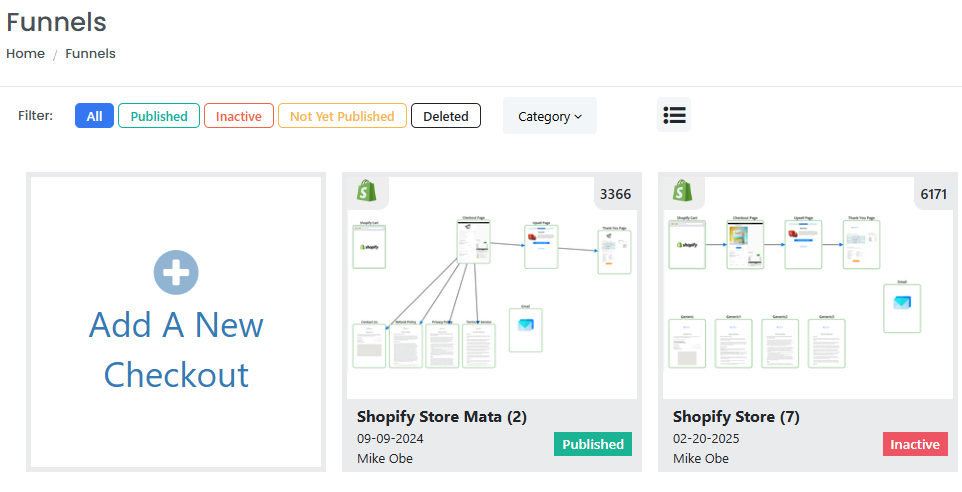
Click your store's tile
-
Click Publish.
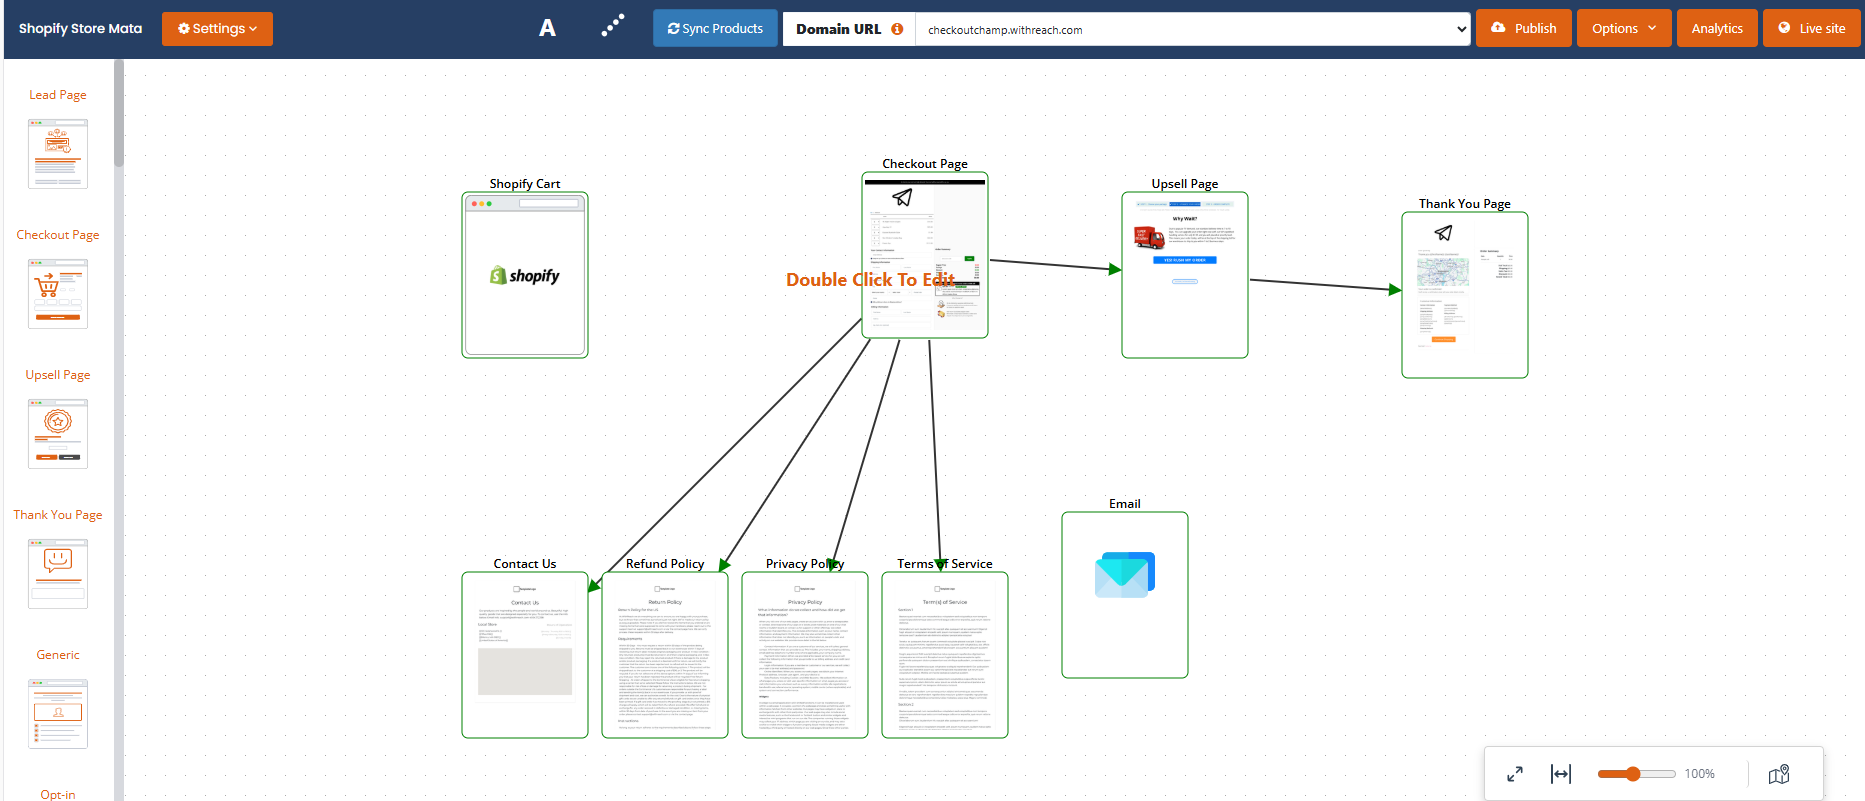
Click Publish
Updated 2 months ago