Step 9. Create the Reach Data app
Complete the following steps to create the Reach Data app in Shopify for the Reach Embedded solution.
Best practiceShopify's webhooks are versioned to correspond with their API version. We strongly recommend updating your apps, including this Shopify custom app, to use the latest stable API version every quarter. See Use a new API version in the Shopify documentation for instructions on updating the webhook version.
Install a custom API into your Shopify account to ensure smooth reporting and remittance on Reach’s end. Follow these easy steps to complete the process:
Step 1. Allow legacy app development
- Sign in to Shopify.
- Click Settings in the lower-left corner of the page, then click Apps and sales channels.
- Click Develop Apps in the top-right corner of the App and sales channels page.

Develop Apps
- From the App development screen, click Allow legacy custom app development.
NoteIf your store doesn’t have developer apps, click Allow custom app development to continue. You will see the following screen.
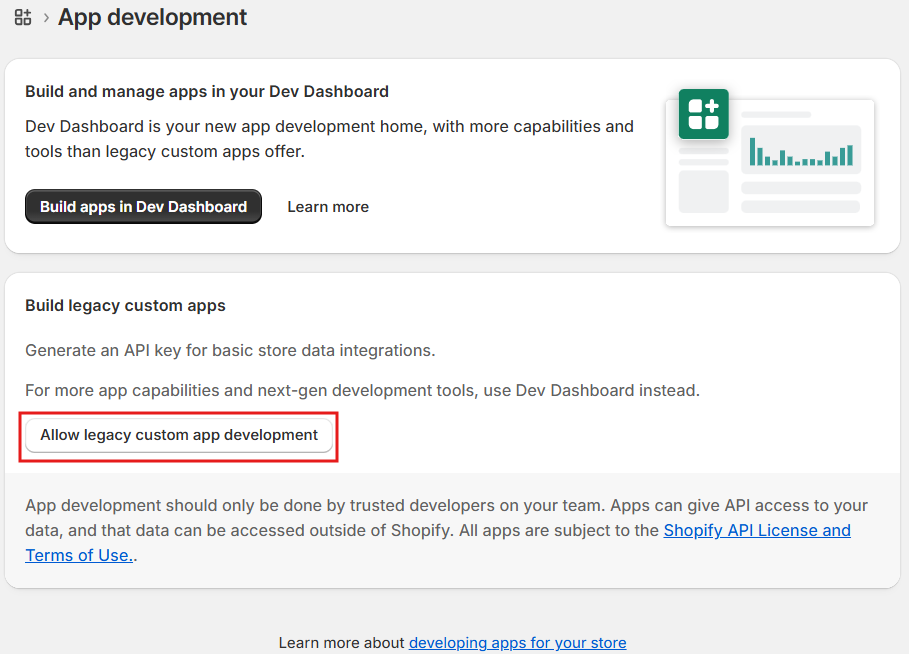
Click Allow legacy custom app development
- Click Allow custom app development.
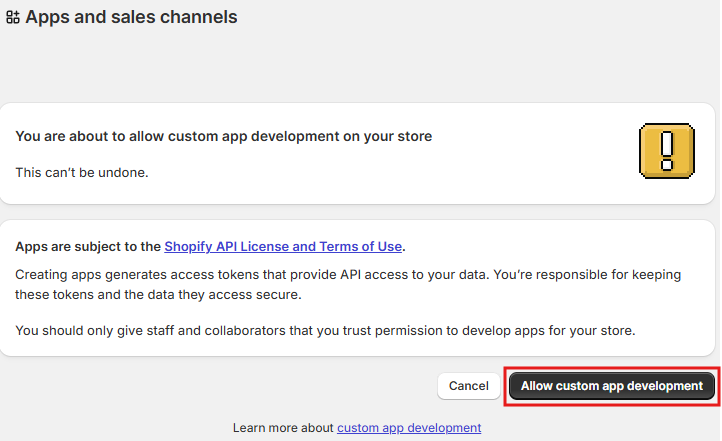
Click Allow custom app development
Step 2. Create the Reach Data app
- Click Create a legacy custom app.
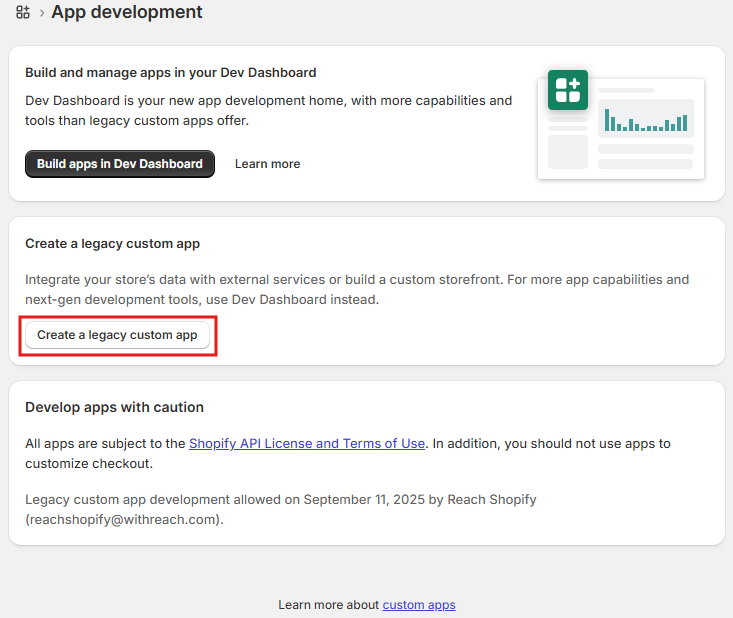
Click Create a legacy custom app
- From the Create an app modal, type the app’s name for the settlement in the App name field. We recommend using “Reach Data” as the app name.
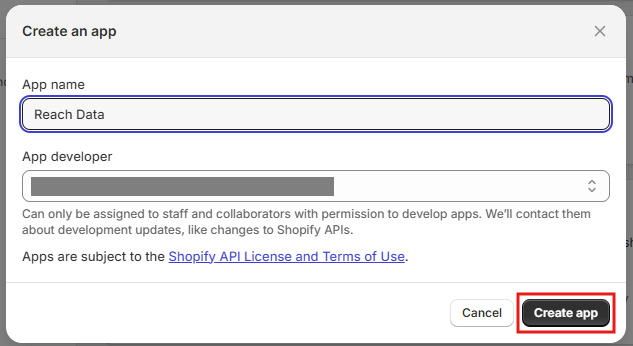
Click Create an app
- Click Create app.
- In the Reach Data page, click the Configuration tab.

Click the Configuration tab
- Click Configure in the Admin API integration section. If you have already configured this integration, you can skip this step.
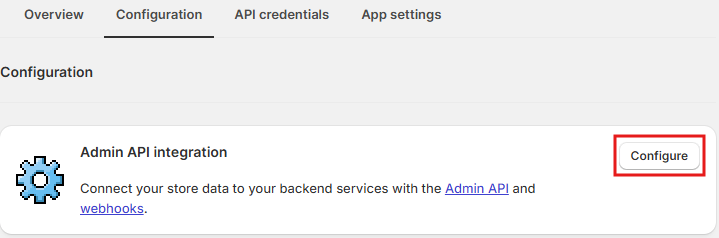
Click the Configure button
- Under Admin API access scopes, use the Filter access scopes field to locate and select the following checkboxes.
read_ordersread_productsread_shopify_payments_payoutsread_shopify_payments_disputesread_shopify_payments_accountsread_shopify_payments_bank_accountsread_assigned_fulfillment_ordersread_merchant_managed_fulfillment_ordersread_third_party_fulfillment_ordersread_locations
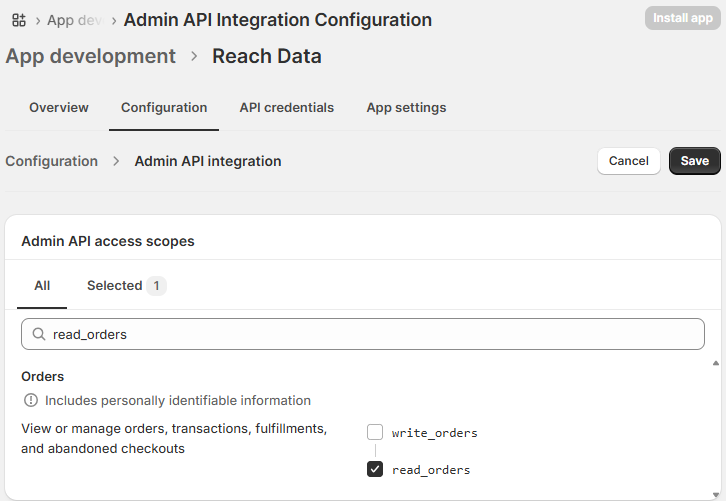
Use the Filter access scopes field to locate checkboxes
- Click Save. Your Admin API access scopes will appear under the Admin API integration in the Configuration tab.
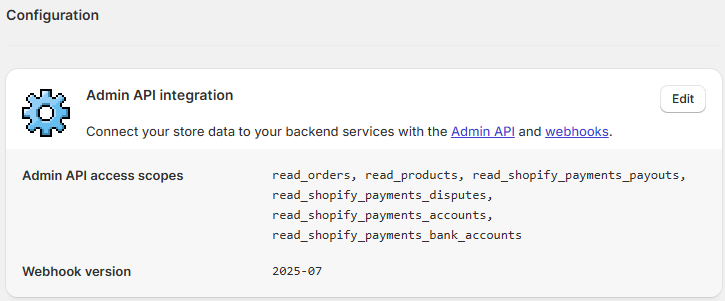
API access scopes will appear under Admin API integration
- Click Edit in the Admin API integration section.
- Scroll down to Webhook subscriptions on the Configuration tab.
- Click the Event version dropdown and select 2025-07.
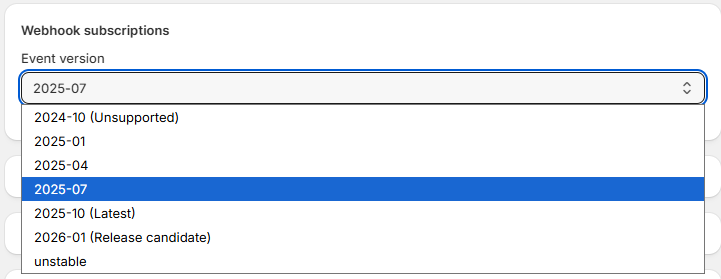
Select 2025-07 from the Event version dropdown
- Click the API credentials tab.

API credentials tab
- Under Access tokens, click Install app to install the application and generate your access tokens.
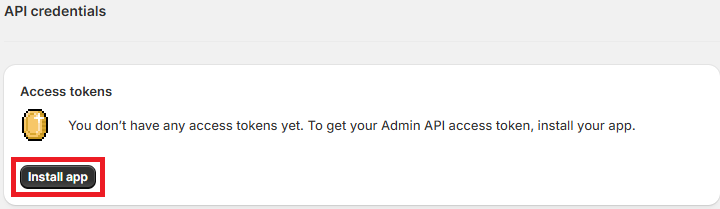
Click Install app
- On the Install Reach Data modal, click Install to add it to your store. Your API access token and API keys are now available on the API credentials tab.
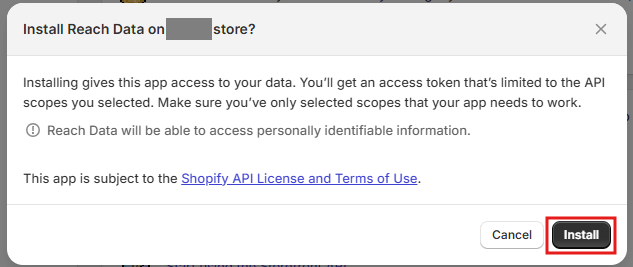
Click Install
- Reveal, copy, and save the Admin API access token, key, and secret key to a safe place:
ImportantWhen saving API keys and tokens, you must store them securely. For example, keep confidential (secret) keys on your servers only and do not store them in version control systems. It helps protect your API keys from unauthorized access.
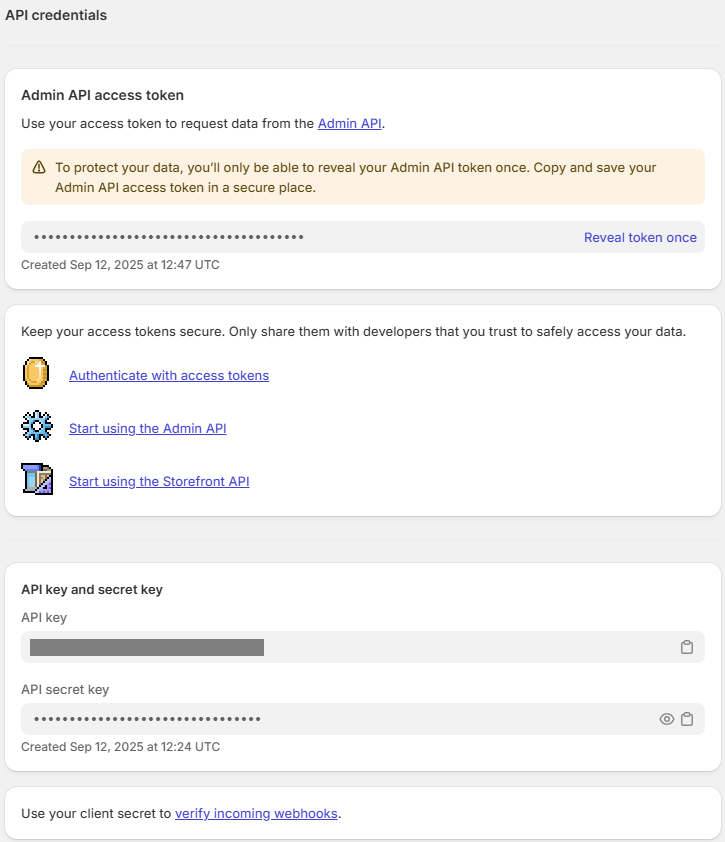
Admin API credentials
Updated 3 months ago